Never I thought a tiny spark could ruin my whole weekend until I saw my neighbor melt a wrench onto his engine block. It’s a scary sight that happens because people get the order of the cables mixed up. You’re likely worried about getting shocked or damaging your car’s computer. This guide shows you when installing a car battery which terminal first so you can finish the job with zero stress and a car that actually starts.
To do this right you should first turn off your engine and put on some work gloves to protect your hands. You start by removing the black negative cable before you ever touch the red positive one to prevent any short circuits. Once the old battery is out you should clean the metal tray and the wire ends with a stiff brush. When you put the new battery in place you must connect the red positive cable first and then finish with the black negative cable. Lastly you should tighten the bolts and try to wiggle the cables to make sure they are stuck on tight and won’t vibrate loose.
Which Battery Terminal Do You Connect First?
You always connect the positive terminal first when you put a new battery in your car. This is the one with the red cap or the plus sign on it. It seems like a small detail but it’s actually the most important safety rule in the garage. If you do this first you don’t have to worry about your tools hitting the metal body of the car.
If you tried to do the negative one first the whole car would become part of the electrical path. Then if your wrench touched the positive post and the car frame at the same time you’d get a massive spark. That spark can burn your hand or even pop a fuse in your car’s brain. So always reach for that red cable and get it tight before you even look at the black one.
Once the red side is safe and covered you can move to the black negative side. This completes the loop and brings the car back to life. You might see a tiny spark when the negative touch the post but that’s totally normal. Just keep your cool and tighten it down until it doesn’t move.
- Identify the red positive terminal by looking for the plus sign.
- Slide the red cable onto the post and push it down far.
- Tighten the nut with a wrench until the cable is snug.
- Grab the black negative cable and move it toward the other post.
- Push the black cable down and tighten that nut too.
- Double check that both cables are firm and don’t wiggle at all.
How to Install Your New Battery the Right Way
Get Your Tools Ready and Stay Safe
You need to have everything nearby before you start or you’ll be running back and forth to the house. Grab a basic socket set or a pair of pliers and some old rags to wipe up dirt. I always tell my friends to wear safety glasses because batteries have acid inside that you really don’t want in your eyes. It’s also smart to park on a flat surface so the car doesn’t roll while you’re working under the hood.
Check your battery cables for any white or green crusty stuff which is just old acid buildup. You can use a mix of baking soda and water to fizz that junk away in seconds. It’s a cheap trick that makes your new battery last way longer because the electricity flows better. Make sure the area is dry before you bring the new battery over to the car.
I also like to take a quick photo of the old battery with my phone before I move anything. This helps me remember exactly which way the battery was facing so I don’t put it in backwards. Sometimes the wires are short and if you flip the battery you won’t be able to reach the posts. A simple photo saves you a lot of heavy lifting later on.
- Gather a ten millimeter wrench or a set of pliers.
- Put on gloves and eye protection to stay safe from acid.
- Take a photo of the battery layout for quick reference.
- Clear any tools away from the top of the engine.
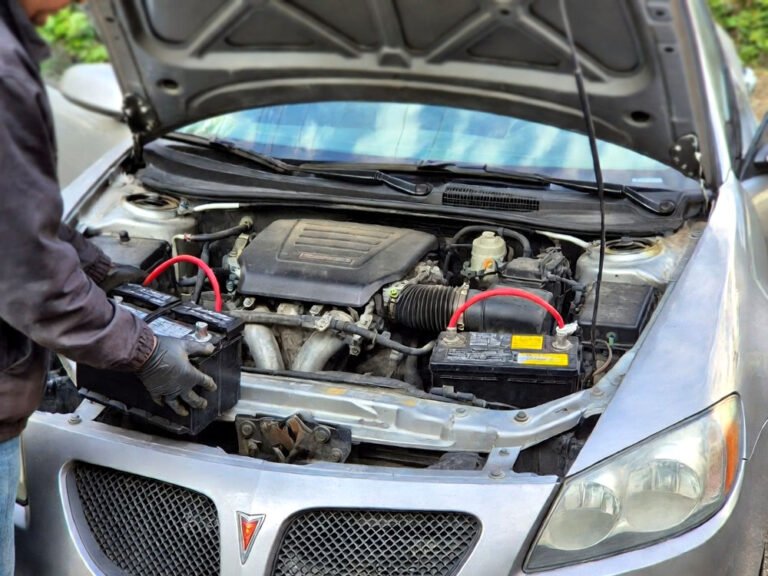
Remove the Old Battery Carefully
You have to be careful when taking the old unit out because it’s heavier than it looks. Start by loosening the nut on the black negative cable and pulling it completely off the post. Tuck that cable off to the side so it doesn’t spring back and touch the battery while you’re working. Now you can safely loosen and remove the red positive cable without any fear of sparks.
Look for a metal strap or a plastic block holding the battery down in its tray. This is called the hold-down bracket and you usually need to unscrew one long bolt to get it loose. Don’t lose that bolt in the bottom of the engine bay because you’ll need it to keep the new battery from jumping around. Once the bracket is gone you can lift the battery straight up and out.
Keep the battery upright at all times so it doesn’t leak any fluid on your driveway. If you see any rust on the tray now is the perfect time to wipe it clean with your rag. A clean tray helps the battery sit flat and keeps it from vibrating too much while you drive. Set the old battery aside and get ready for the fresh one.
- Unscrew the black negative cable first to kill the power.
- Remove the red positive cable and move it out of the way.
- Unbolt the metal hold-down bracket that keeps the battery steady.
- Lift the battery using the handle or by gripping the sides.
Clean the Cable Ends for a Good Connection
You can’t just slap new cables on dirty posts and expect the car to start every time. The metal ends of your cables need to be shiny and clean to let the power move through them. I use a small wire brush or even a piece of sandpaper to scrub the inside of the cable loops. If they look dull or grey keep scrubbing until you see bright silver or copper color.
If you don’t have a wire brush you can use a crumpled piece of aluminum foil in a pinch. Just rub it inside the ring until the gunk comes off and you see clean metal again. This is my favorite insider secret for getting a car to start in the winter when the battery is struggling. Clean metal means the starter motor gets all the juice it needs to crank the engine.
Also look at the wires themselves to see if they are cracking or peeling back. If the copper inside looks green or corroded the cable might be dying and could need a replacement soon. But if they look solid just give them a good wipe and you are ready to go. A little bit of prep work here prevents a lot of clicking noises later.
- Scrub the inside of the cable clamps with a wire brush.
- Look for shiny metal surfaces to ensure the best electrical flow.
- Wipe away any leftover baking soda or cleaning spray.
- Inspect the wires for any cracks or signs of heat damage.
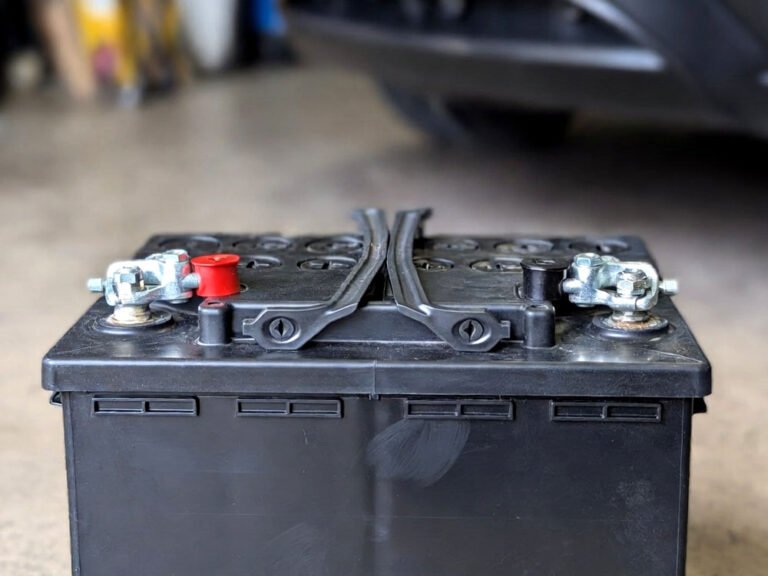
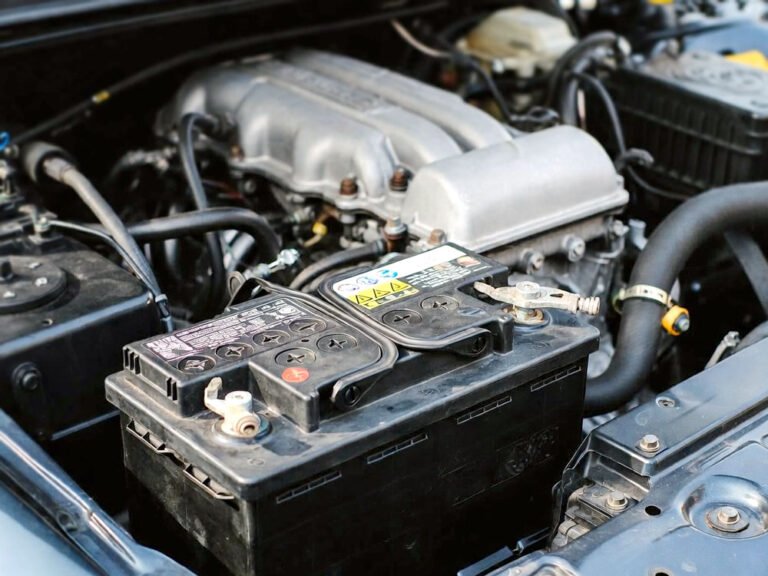
Drop the New Battery in the Tray
Pick up your new battery and make sure the plus and minus signs match the way the old one sat. Lower it gently into the tray and make sure it sits flush against the bottom. If it’s tilted or wobbly it might rub against other parts of the engine and cause a leak. Most batteries have a little plastic ridge that fits into a slot on the tray to keep it lined up.
Once it’s sitting pretty you need to put that hold-down bracket back on immediately. Tighten the bolt until the battery doesn’t move when you give it a firm shove with your hand. You don’t want to overtighten it and crack the plastic case but it shouldn’t be loose either. A loose battery will die much faster because the internal plates get damaged by all the shaking.
Double check the labels one last time to be sure the red cable is near the positive post. It’s a common mistake to get them backwards if you’re working in a dark garage or if you’re tired. It only takes a second to verify and it saves you from a very expensive repair bill. Now your new power source is locked in and ready for the cables.
- Place the battery in the tray with the posts facing the right way.
- Check that the battery is sitting flat and not tilted.
- Reinstall the hold-down bracket and tighten the mounting bolt.
- Give the battery a wiggle to make sure it is totally secure.
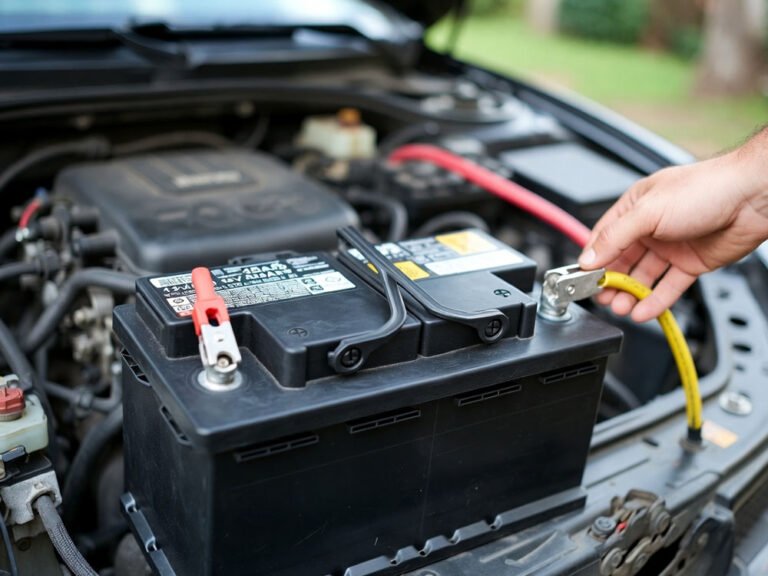
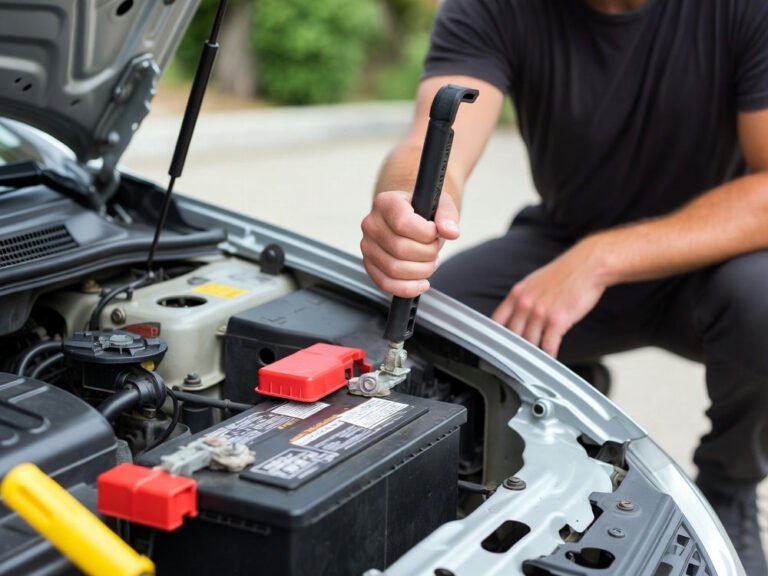
Connect the Positive Terminal First
This is the big moment where we follow the rule of when installing a car battery which terminal first. Grab that red positive cable and slide it all the way down onto the metal post. You want it to sit as low as possible so the clamp has more surface area to grab onto. Use your wrench to tighten the nut until the clamp is snug and won’t turn.
I like to use a tiny bit of battery grease or even some petroleum jelly on the post before I slide the cable on. This keeps moisture out and stops that annoying white crust from growing back in a few months. It’s a pro move that keeps your engine bay looking clean and professional. Just a little dab is all you need to protect the metal for years.
If the red cable has a plastic cover or a red cap make sure to snap that back into place. That cover is there to stop a tool from accidentally touching the post and the car frame at the same time. Safety is all about layers and that little plastic flip-cap is a great final touch. Now that the hot side is done the scary part is over.
- Slide the red cable onto the positive post and push down.
- Tighten the nut until you cannot move the cable by hand.
- Apply a small amount of grease to stop future corrosion.
- Close the red plastic safety cover over the terminal.
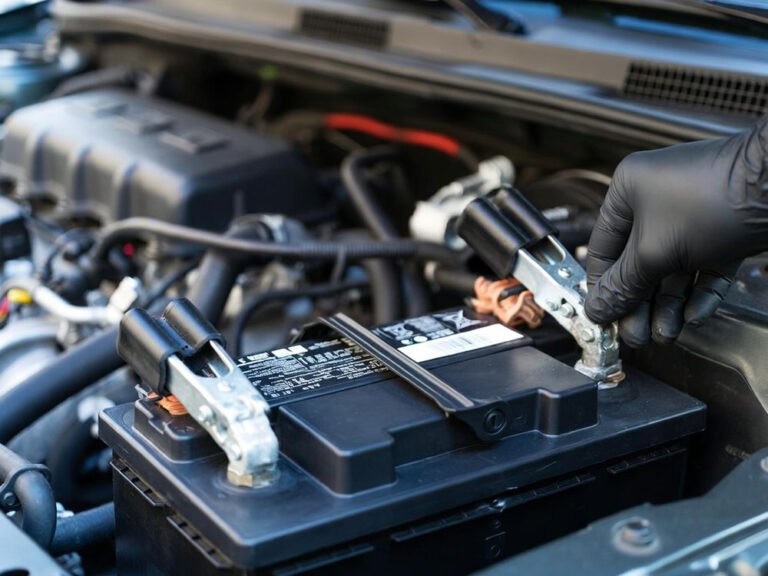
Finish With the Negative Terminal
Now you can bring the black negative cable over to the remaining post to finish the circuit. You might hear a little pop or see a small spark when the metal touches but don’t jump. That is just the car’s clock and computer waking up and taking a tiny bit of power. Push the clamp down just like you did with the positive side and tighten the bolt.
Check both cables one last time by trying to twist them with your fingers. If they move at all you need to tighten them more because a loose connection will cause the car to die while you’re driving. Once everything is tight you can remove your tools from the engine bay. Make sure no stray wrenches are sitting near the fan or the belts.
Go ahead and get in the driver’s seat and turn the key or push the start button. The car should roar to life much faster than it did with the old tired battery. You might have to reset your radio stations or the clock but that’s a small price to pay for a reliable ride. You did the whole thing yourself and saved some money too.
- Attach the black negative cable to the remaining battery post.
- Tighten the clamp until it is firmly locked onto the metal.
- Check that no tools are left inside the engine compartment.
- Start the engine to verify that the connection is perfect.
What Happens if You Connect the Terminals in the Wrong Order?
If you connect the negative terminal first you won’t see anything happen right away. The trouble starts when you go to tighten the positive terminal later. If your metal wrench touches any part of the car’s body while it’s on the positive post it creates a direct path for electricity. This causes a massive flow of power that can melt your tools or burn your skin.
Connecting the positive first keeps the car “grounded” safely while you work. It’s like building a bridge where you want the foundation solid before you add the heavy traffic. By doing the red side first you eliminate the chance of a short circuit through your tools. It’s the safest way to handle high voltage without needing fancy equipment or a mechanic’s degree.
If you already made a mistake and saw a spark don’t panic but stop what you are doing. Check your car’s fuses to make sure you didn’t blow anything important like the fuel pump fuse. Usually you’ll be fine if it was just a split second but it’s a good lesson for next time. Always stick to the red then black rule to keep things simple and safe.
- A wrong order can cause a huge spark that might hurt you.
- Metal tools can weld themselves to the car frame in a short circuit.
- The car’s expensive computer might get a power surge and break.
- You could blow main fuses that are hard to reach or replace.
- The battery could theoretically leak or crack from the heat.
- Following the right order keeps the electrical path predictable and safe.
Final Thoughts
I hope you feel much more confident about swapping out your power source now. Working on cars can feel scary but once you know when installing a car battery which terminal first it’s easy. Just remember to go red then black and keep those connections clean and tight. You’ve got this under control so go ahead and get that car back on the road today.
| Step | Action | Why It Matters |
| 1 | Remove Negative (Black) | Stops the flow of power for safety |
| 2 | Remove Positive (Red) | Fully disconnects the old battery |
| 3 | Clean Terminals | Ensures the car starts every time |
| 4 | Install New Battery | Provides fresh power to the engine |
| 5 | Connect Positive (Red) | Prevents sparks from your metal tools |
| 6 | Connect Negative (Black) | Completes the circuit safely |
Frequently Asked Questions (FAQs)
Is it dangerous to touch both battery terminals at once?
While the twelve volts in a car battery won’t usually give you a heart-stopping shock it can still be risky. If your hands are wet or if you are wearing a metal ring you could get a nasty burn. The real danger is creating a bridge with a metal tool which can cause a fire.
Can I change my battery while the engine is running?
You should never try this because it can fry the alternator which is the part that charges your battery. The battery acts like a filter for the car’s power and removing it while running sends spikes of electricity through the system. Always turn the engine completely off before you start working.
Do I need special tools to install a car battery?
Usually you only need a basic ten millimeter wrench or a set of pliers to get the job done. Most modern cars use a standard size for the terminal nuts. If your battery has a hold-down bracket you might need a socket wrench with an extension to reach the bolt.
Is it normal for the car to spark when I connect the cables?
It is very common to see a tiny blue spark when you connect the final negative cable. This happens because the car’s computer and lights are sensing power for the first time. As long as it is a small spark and not a giant flash you are doing fine.
Can I use household items to clean the terminals?
Yes you can use a mix of baking soda and a little water to eat away corrosion. An old toothbrush works great for scrubbing the terminals clean. Just make sure you wipe everything dry with a paper towel before you put the cables back on so nothing stays wet.
Do I have to reset my car’s computer after a new battery?
Most cars will figure things out on their own after you drive for a few miles. You might notice the engine idling a bit differently for the first ten minutes. Your radio presets and the clock will probably need to be set again but the main computer is fine.
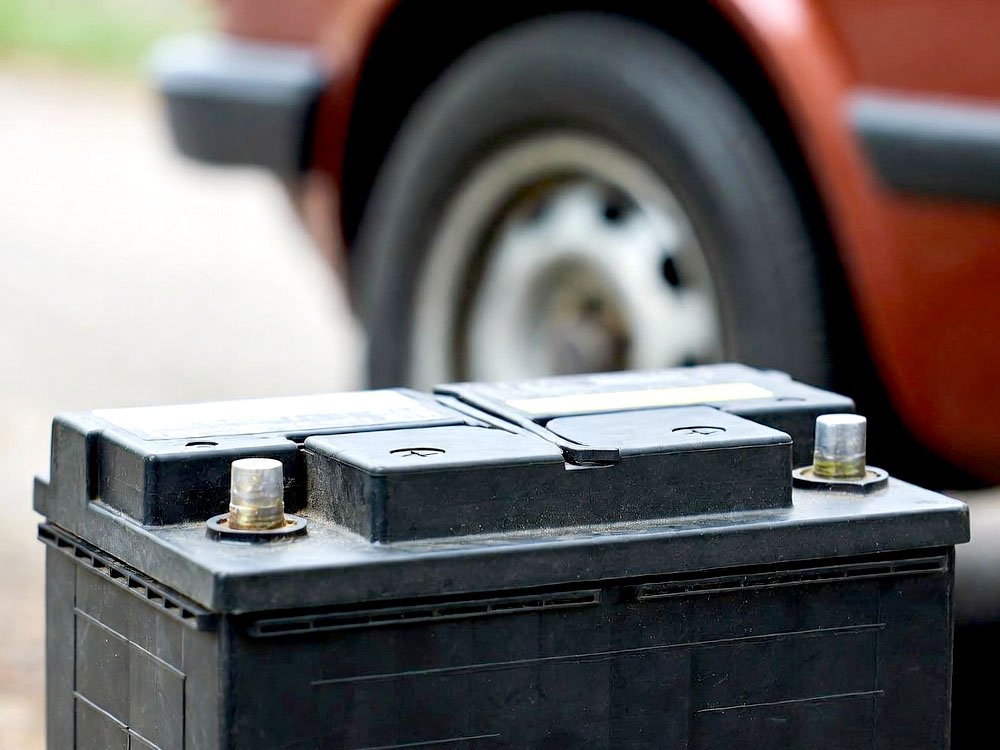
Is it okay if the battery terminals are different sizes?
Actually the positive post is usually slightly larger than the negative post on purpose. This is a safety design to help you avoid putting the cables on the wrong way. If a cable feels way too loose or too tight you might have the wrong side in your hand.
Can I jump start a car if the battery is totally dead?
You can jump it to get home but a battery that is completely flat might not hold a charge anymore. If your battery is more than four years old it is probably time for a new one. Jumping it is just a temporary fix for a much bigger problem.