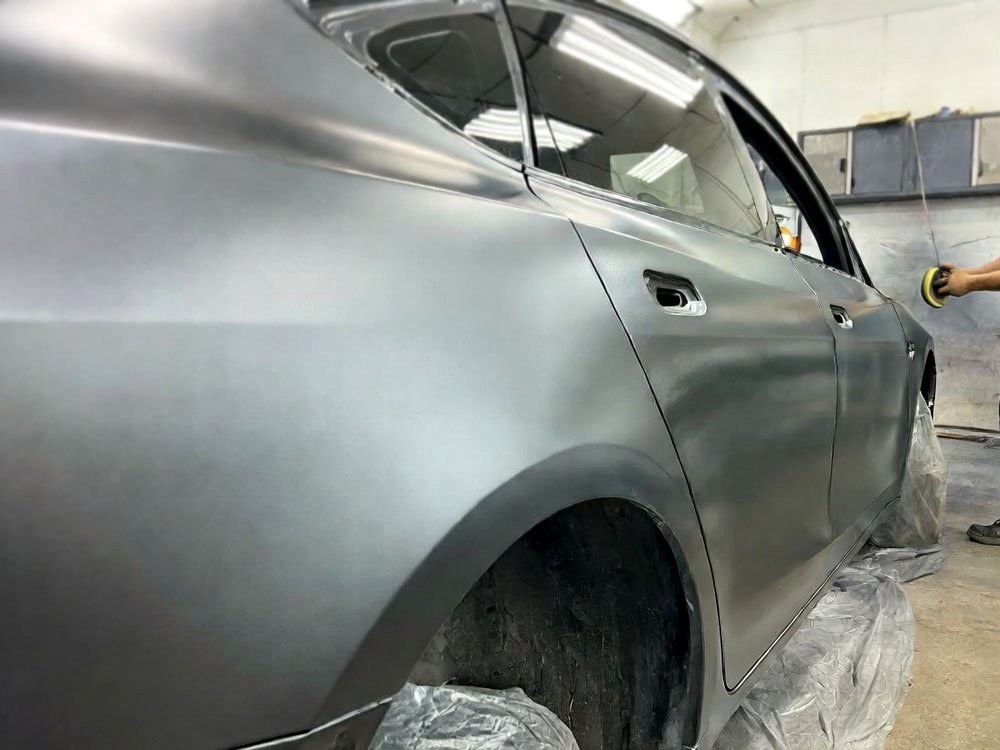
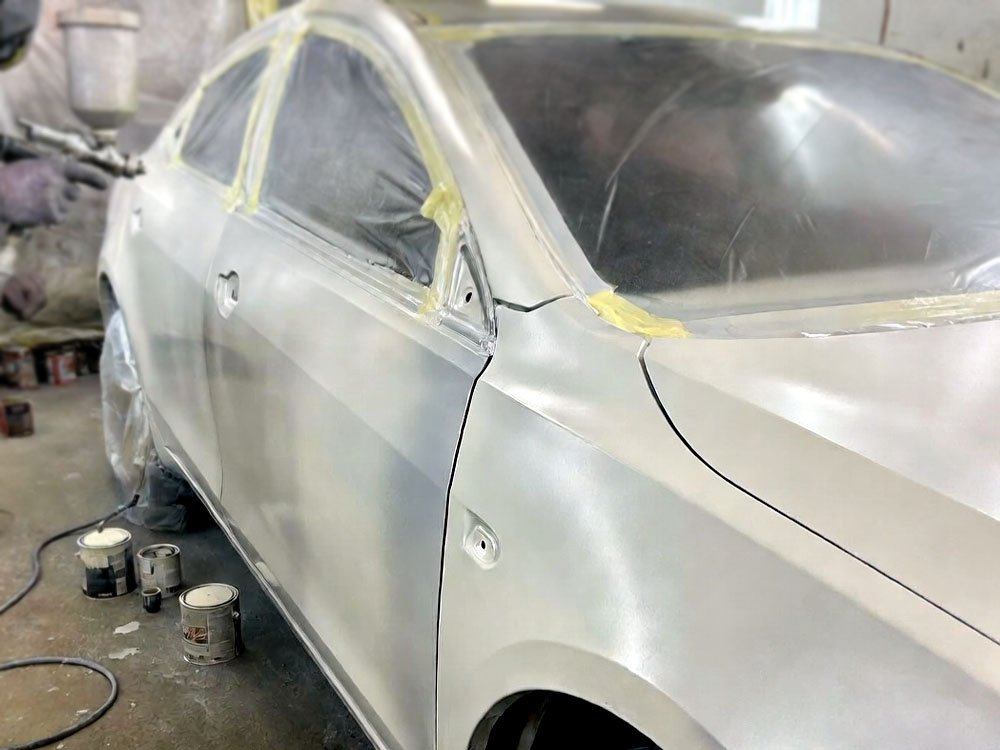
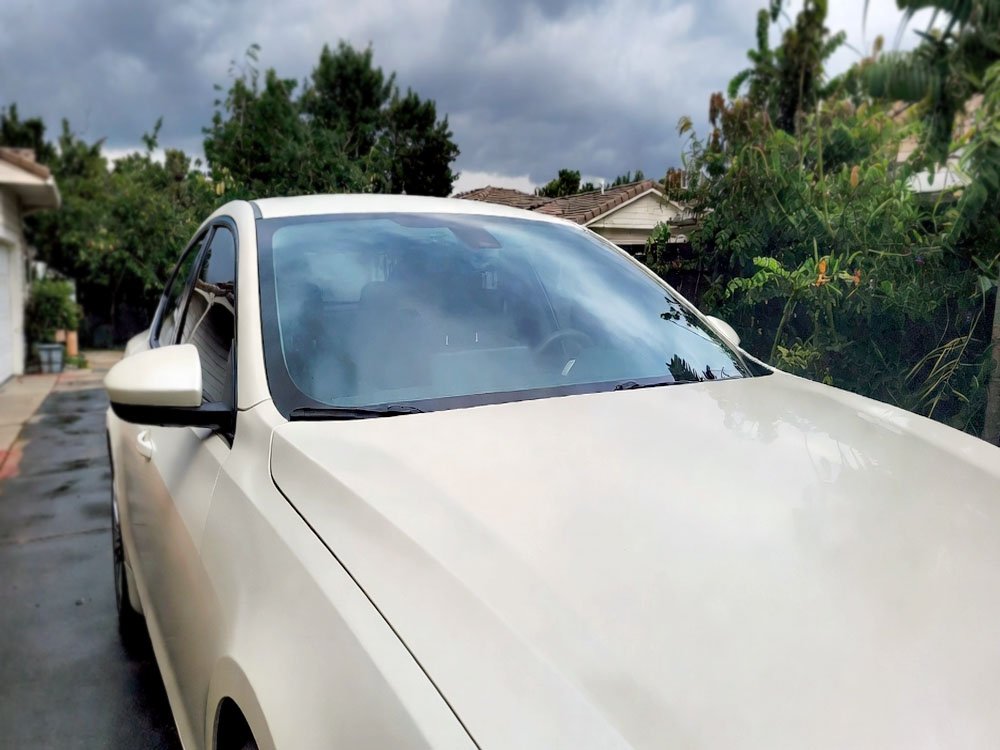
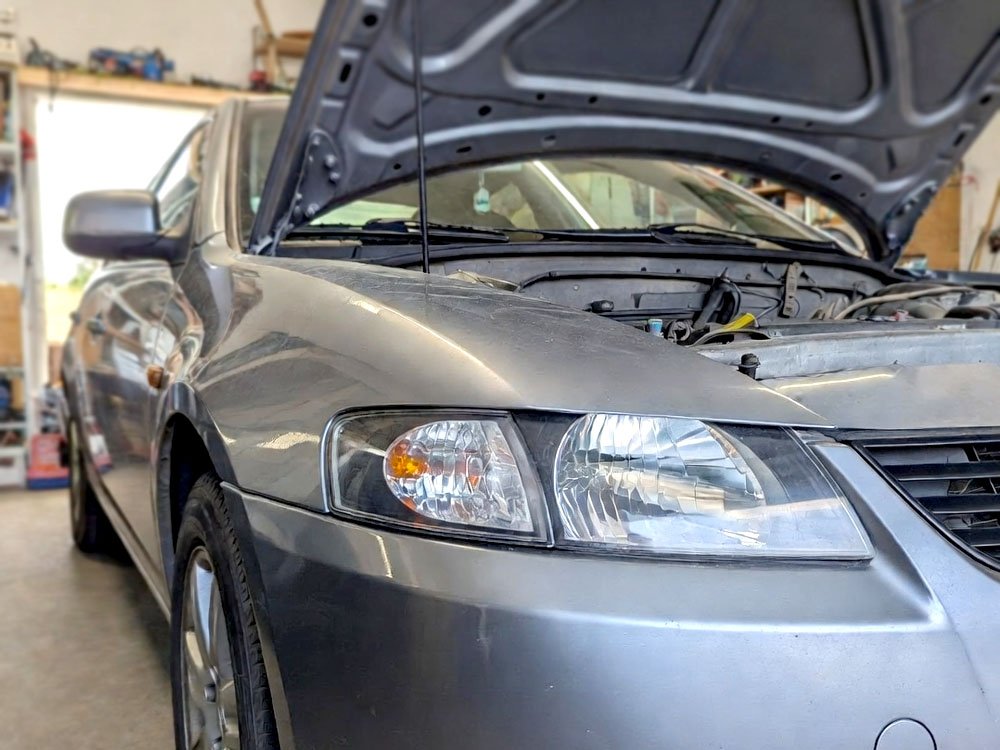
To prep a car for paint, start by thoroughly cleaning the exterior and removing any grease or wax residue. Then, sand the entire surface of the car to create a smooth and even texture.

Credit: issuu.com
Preparing Your Car For Paint
Preparing your car for paint is crucial to achieve a flawless finish. Follow these simple steps to properly prep your vehicle for a fresh coat of paint, ensuring a professional-looking result.
Your car’s paint plays a crucial role in not only enhancing its appearance but also protecting it against various elements. However, over time, the paint may chip, fade, or develop imperfections. Preparing your car for paint is a crucial step in achieving a flawless and long-lasting paint job. In this section, we will explore the essential steps involved in “Preparing Your Car for Paint.”Before you begin the prep work, it’s essential to start with a clean car surface. Proper cleaning ensures that the paint adheres smoothly and eliminates any dirt or contaminants that could affect the final finish.
Here are some vital steps to follow when cleaning your car before painting:
- First, gather all the necessary supplies, including car wash soap, a hose with water, a soft sponge, and microfiber towels.
- Start by rinsing the car thoroughly with water to remove loose dirt and debris.
- Next, mix the car wash soap with water in a bucket according to the manufacturer’s instructions.
- Using a soft sponge, apply the soapy water all over the car’s exterior, working from the top downwards.
- Rinse the sponge frequently to prevent dirt from scratching the surface.
- After thoroughly washing the car, rinse it again with clean water to remove all soap residue.
- Lastly, dry the car completely using clean microfiber towels, ensuring no water spots or streaks remain on the surface.
Repairing any surface imperfections, such as dents, scratches, or rust, is crucial to achieve a smooth and flawless paint job. Here’s what you need to do:
- Inspect the car’s surface carefully to identify any dents, scratches, or rust spots that need repair.
- For minor dents, you can use a dent repair kit or a plunger to carefully push the dent back into place.
- If there are deeper scratches or chipped paint, sand the affected area gently using fine-grit sandpaper to smooth out the surface.
- Once the surface is smooth, clean it thoroughly and apply a suitable primer to ensure proper adhesion of the paint.
- In the case of rust spots, use a rust converter to stop further corrosion and apply a rust-resistant primer before painting.
- Ensure that all repaired areas are completely dry and smooth before proceeding to the next step.
Sanding the car’s surface and applying a high-quality primer are essential steps to ensure the paint adheres properly and provides a long-lasting finish. Follow these steps:
- Start by using a moderate-grit sandpaper (such as 320-grit) to sand the entire car surface. This helps create a rougher texture for better primer adhesion.
- Pay extra attention to areas with existing paint damage or imperfections to ensure they are smooth and level with the rest of the surface.
- After sanding, thoroughly clean the car to remove any dust or debris.
- Apply an automotive primer by spraying it evenly over the entire car surface. This helps create a smooth and consistent base for the paint.
- Allow the primer to dry completely as per the manufacturer’s instructions.
- If necessary, sand the primed surface using a fine-grit sandpaper (around 400-grit) to achieve an even smoother finish.
- Clean the car again to remove any sanding dust before proceeding with the paint application.
By following these steps, you’ll have a well-prepared car surface ready for paint. Taking the time to properly clean, repair surface imperfections, and sand and prime your car will ensure a professional-looking paint job and a stunning end result.
Cleaning The Car
Before painting your car, it’s crucial to give it a thorough cleaning to ensure a smooth and flawless paint job. Proper cleaning not only helps to remove dirt and grime from the exterior but also eliminates any contaminants that may interfere with the painting process. Additionally, cleaning the interior surfaces will create a clean environment, making the task of painting more pleasant and efficient. Follow these steps to effectively clean your car before painting.
Washing The Exterior
To start the cleaning process, you must wash the exterior of your car.
Follow these steps to wash the exterior of your car:
- Begin by rinsing your car with water from top to bottom.
- Apply a car wash soap to a sponge or mitt, and gently scrub the car’s surface in circular motions.
- Rinse off the soap thoroughly to ensure there are no residues left behind.
- Dry the car using a microfiber towel or a chamois to prevent water spots.
Removing Old Wax
Before painting your car, it’s crucial to remove any old wax that might be present on the surface. The presence of wax can prevent the new paint from adhering properly.
Follow these steps to remove old wax from your car:
- Prepare a mixture of warm water and car wash soap.
- Use a sponge or wash mitt to apply the mixture to the surface, working in small sections.
- Scrub the surface gently to remove any wax residue.
- Rinse off the soap thoroughly and dry the car using a microfiber towel.
Cleaning Interior Surfaces
While the focus is often on the exterior, cleaning the interior surfaces of your car is equally important. Dust, dirt, and debris can accumulate on the interior, leading to an unsightly finish and potentially affecting the painting process. Follow these steps to clean the interior surfaces of your car:
- Start by removing any loose items from the car, such as floor mats and personal belongings.
- Vacuum the interior thoroughly, paying extra attention to the seats, carpet, and crevices.
- Use a mild interior cleaner and a microfiber cloth to wipe down the dashboard, console, door panels, and other surfaces.
- For stubborn stains, use a specialized stain remover and follow the manufacturer’s instructions.
Repairing Surface Imperfections
To prepare your car for paint, it is crucial to repair surface imperfections. By addressing scratches, dents, and other flaws, you can ensure a smooth and flawless finish. Taking the time to properly prep your car will result in a professional-looking paint job.
Repairing Surface ImperfectionsWhen it comes to prepping your car for a fresh coat of paint, one of the most important steps is repairing any surface imperfections. From dents and gouges to scratches and chips, these imperfections can be unsightly and affect the overall finish of your paint job. In this section, we will explore three key areas of surface repair: filling dents and gouges, fixing scratches and chips, and replacing missing or broken parts. By addressing these imperfections before painting, you will ensure a smooth and polished final look for your vehicle.Filling Dents And Gouges
Dents and gouges can often be the result of minor collisions or everyday wear and tear. To fix these imperfections, you will need a few essential tools and materials, including body filler, a spreader tool, sandpaper, and a primer. The first step is to clean the affected area thoroughly, removing any dirt or debris that may interfere with the repair process. Next, mix the body filler according to the manufacturer’s instructions and apply it to the dent or gouge, using a spreader tool to evenly distribute the filler. Allow the filler to cure completely before sanding it down gradually using increasingly finer grit sandpaper. Once the surface is smooth and level, apply a primer to prepare it for the paint.Fixing Scratches And Chips
Scratches and chips are common blemishes that can detract from the appearance of your car’s surface. To repair these imperfections, start by cleaning the area around the scratch or chip to remove any dirt or debris. Depending on the depth of the scratch or chip, you may need to apply touch-up paint or use a scratch repair kit. For shallow scratches, touch-up paint can be applied using a small brush, gradually building up the layers until the scratch is filled. Alternatively, a scratch repair kit can be used to fill and blend the scratch seamlessly. Once the repair is complete, use a fine-grit sandpaper to smooth the area before applying a protective clear coat.Replacing Missing Or Broken Parts
In some cases, your car may have missing or broken parts that need replacement before you can proceed with the paint job. Whether it’s a broken mirror, a damaged bumper, or a missing trim piece, it’s crucial to address these issues before applying paint. Start by sourcing the replacement parts from a reputable supplier or dealership. Once you have the necessary parts, carefully remove the damaged or missing component and install the new one according to the manufacturer’s instructions. Take the time to ensure proper alignment and fit before moving forward with the painting process. By replacing these parts first, you will achieve a more professional and finished appearance in the end.Repairing surface imperfections is an essential step in prepping your car for a fresh coat of paint. Whether you are dealing with dents, scratches, or missing parts, taking the time to address these issues will result in a smoother and more polished final look. By following the steps outlined in this section, you can restore your car’s surface to its former glory and achieve professional-quality results.:max_bytes(150000):strip_icc()/caramelized-mustard-marmalade-chicken-wings11658-MN-045-0919-onecms-horiz-0123-d55db2f2fad0477faabb82529dc471d0.jpg)
Credit: www.marthastewart.com
Sanding And Priming
When it comes to painting your car, proper preparation is key to achieving a flawless finish. One crucial step in prepping your car for paint is sanding and priming. This step helps to ensure that the new paint adheres smoothly and evenly to the surface, giving your car a professional and long-lasting look.
Sanding The Surface
Sanding the car’s surface is an essential part of the prep process. The goal here is to remove any imperfections, such as scratches, dents, or old paint, that may hinder the adhesion of the new paint. Additionally, sanding creates a textured surface that allows the primer to bond effectively.
To get started, gather sandpaper of different grits, ranging from coarse to fine. Start with a coarse grit sandpaper, like 80 or 120, to remove any deep scratches or rough spots. Use a sanding block or sanding machine for an even and consistent result. Sand in a circular motion to avoid creating uneven patches.
Once you have removed the imperfections, it’s time to move on to the finer grits of sandpaper, like 220 or 320. Use these finer grits to smooth out rough areas and feather the edges of the repaired spots. This will ensure a seamless transition between the repaired areas and the rest of the car’s surface.
Priming The Car
After sanding, it’s crucial to apply a layer of primer to the entire car. Primer acts as a foundation for the new paint, providing a smooth and even surface for better adhesion and durability. It also helps to seal the existing paint, preventing any chemical reactions with the new paint.
Before applying the primer, thoroughly clean the sanded surface to remove any dust or debris. Use a tack cloth or a lint-free cloth along with a suitable cleaner to ensure a clean and smooth surface for the primer to adhere to.
Once the surface is clean, apply a thin and even coat of primer using a spray gun or a paintbrush designed for priming. Be sure to cover the entire car, including hard-to-reach areas, such as door edges and fender wells. Allow the primer to dry according to the manufacturer’s instructions before moving on to the next steps of the painting process.
Masking Off Areas
While prepping your car for paint, it’s essential to mask off any areas that should not be painted, such as windows, rubber trims, or any delicate parts. Masking helps to ensure that you achieve clean and defined lines, preventing overspray or accidental painting on unwanted areas.
Use painter’s tape or automotive masking tape to cover the areas you want to protect. Ensure the tape adheres firmly and is applied in a straight line. Take your time while masking to achieve precise and neat results.
Overall, sanding and priming are critical steps in prepping your car for paint. These processes create a smooth and clean surface, ensuring the new paint adheres well and provides a professional finish. Remember to sand the surface thoroughly and apply a suitable primer before masking off any areas that should not be painted. With proper prep work, your car will be ready for the next exciting step: applying the perfect coat of paint.

Credit: abcnews.go.com
Conclusion
Prepping your car for paint is an essential step in ensuring a flawless and long-lasting paint job. By following the steps mentioned in this blog post, you can effectively remove old paint, repair imperfections, and create a smooth surface for the new coat of paint.
Remember to clean and degrease the car thoroughly, apply primer, and sand the surface before painting. With proper preparation, you can achieve professional-looking results and protect your car’s exterior for years to come.


