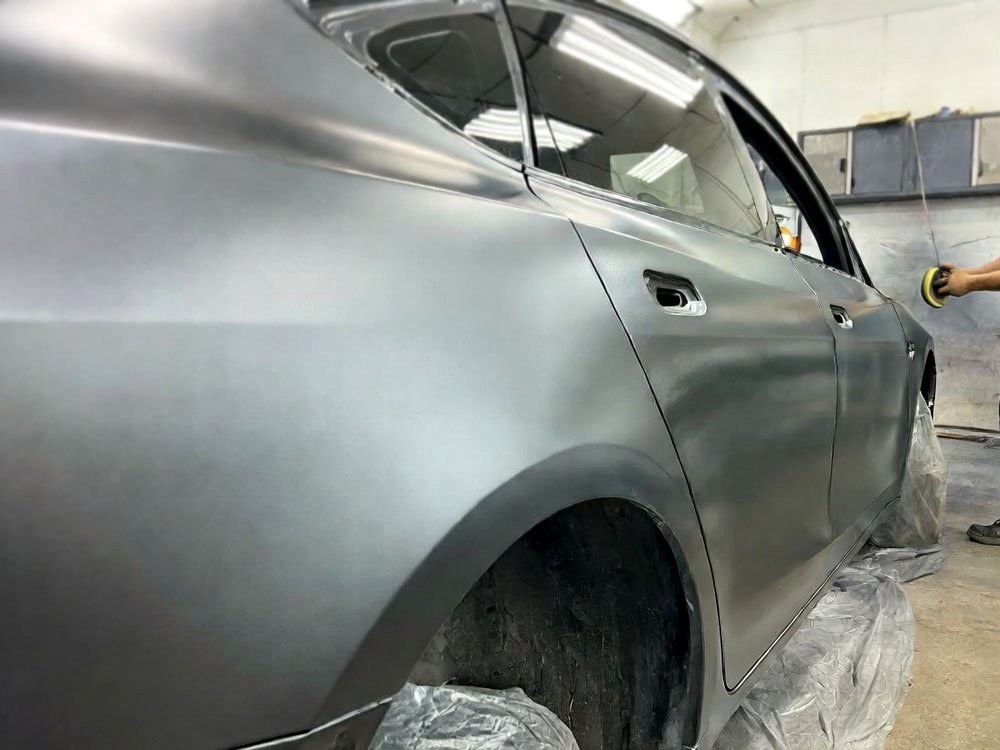
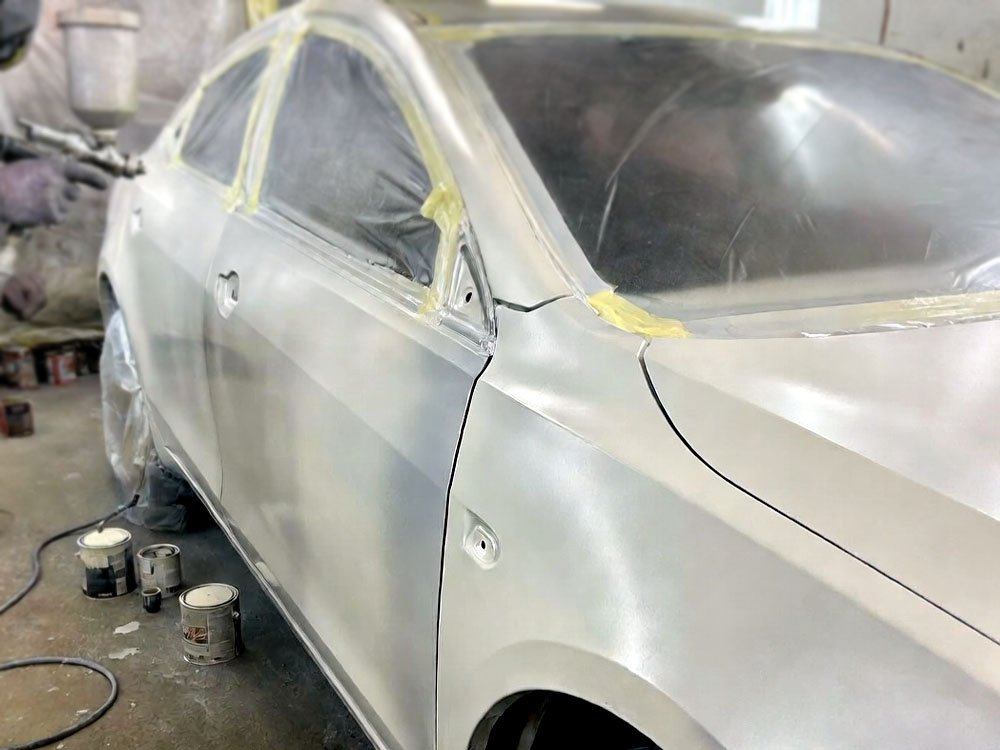
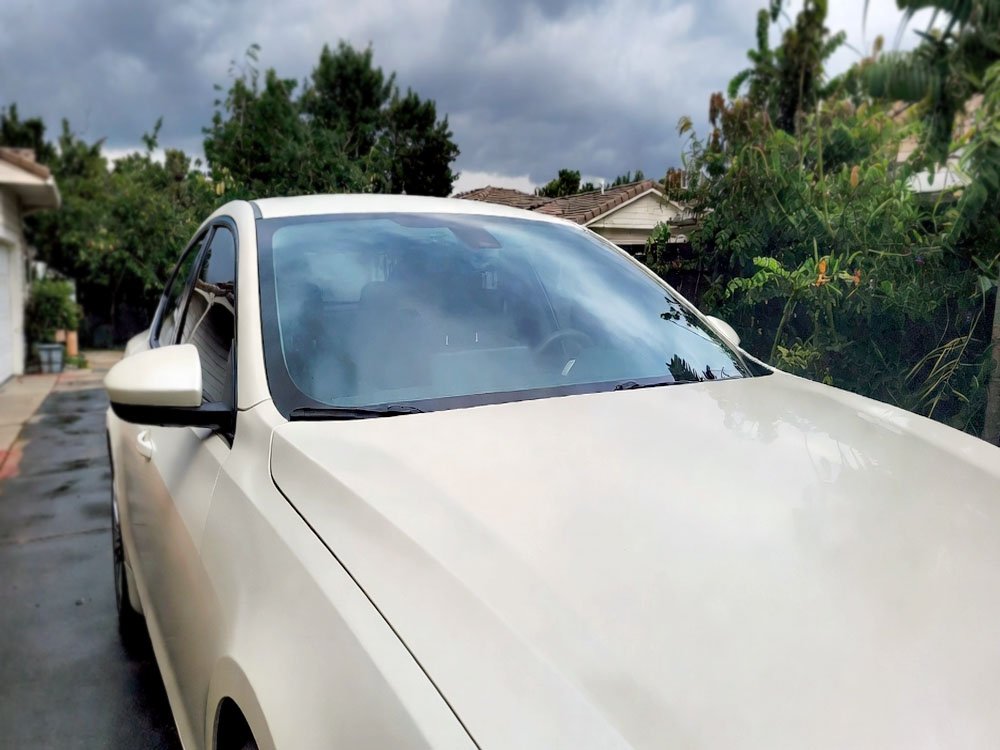
If you want to chrome delete a car, follow these steps: thoroughly clean the chrome surface, apply a specialized chrome remover, and then use a paint or vinyl wrap to cover the chrome. This process will transform the appearance of your car by eliminating the shiny chrome accents.
An increasingly popular trend among car enthusiasts, chrome deleting allows for a customized, sleek, and matte finish. By removing the chrome elements, the vehicle can have a more aggressive and unique look. Whether you desire a blacked-out aesthetic or simply want to experiment with a different style, chrome deleting offers a fantastic opportunity to transform your car’s appearance.

Why Chrome Delete?
Chrome delete is a popular trend among car enthusiasts who want to give their vehicles a unique and personalized touch. By removing the chrome accents on your car, you can enhance its overall appearance and make it stand out from the crowd. But why exactly would someone opt for a Chrome delete? Let’s explore the reasons behind this growing trend.
Enhance The Appearance
One of the primary reasons to consider a chrome delete is to enhance the appearance of your car. Chrome accents, although shiny and eye-catching, may not always complement the overall style and color of your vehicle. By removing the chrome trims, you can achieve a sleek and more unified look. Whether you opt for a full chrome delete or partial removal, you can transform your car’s appearance into a head-turning masterpiece.
Personalize Your Ride
Your car is an extension of your personality, and customizing it allows you to showcase your individuality. A Chrome delete provides you with the perfect opportunity to personalize your ride. You can choose from a wide range of color options to replace the chrome, such as matte black, glossy black, carbon fiber, or even a vibrant accent color. This customization not only adds a personal touch but also helps your vehicle stand out and get noticed.
Furthermore, a chrome delete allows you to align your car’s aesthetics with any existing modifications you might have made. For example, if you’ve installed aftermarket black wheels or a matte black vinyl wrap on your car, removing the chrome trims would create a seamless and cohesive look.
Whether you’re looking to give your car a more aggressive and stealthy appearance or simply want to make it unique, a Chrome delete offers endless possibilities for customization.

Preparing For Chrome Delete
Chrome delete is a popular modification that car enthusiasts use to give their vehicles a sleek, customized look. Removing the chrome trim on your car can significantly enhance its appearance, giving it a more aggressive and modern look. Before you delve into this process, it’s important to be well-prepared to ensure a successful Chrome delete.
Gather The Right Tools
Before you begin your Chrome delete project, it’s crucial to gather all the necessary tools and materials. Having the right tools will make the process much more efficient and help you achieve the desired results with finesse. Here are the essential tools you’ll need:
| 1. Masking Tape | For precise tape-off of areas to protect from accidental painting. |
| 2. Automotive-Grade Adhesive Remover | To remove any adhesive residue left behind after removing the chrome trim. |
| 3. Automotive Primer | Prepare the surface before applying the paint. |
| 4. Automotive Spray Paint | In the color of your choice for the chrome delete. |
| 5. Clear Coat | To protect the painted surface and give it a glossy finish. |
| 6. Microfiber Cloth | To wipe down the surfaces and ensure a clean application of paint. |
| 7. Sandpaper (Optional) | If you need to smooth out any rough spots on the trim. |
Choose The Right Method
There are several methods to achieve a chrome delete on your car, and the right approach depends on your preference, skill level, and the type of trim you’re working with. Here are some common techniques:
- Vinyl Wrapping: This method involves applying a suitable vinyl wrap over the chrome trim, giving it a new look. It provides protection and can be easily removed if desired.
- Painting: Painting the trim involves meticulously masking off the surrounding areas and applying automotive spray paint to the chrome surfaces. This method requires precision and attention to detail.
- Trim Replacement: If you want a professional finish and are willing to invest more, replacing the chrome trim with aftermarket or painted trim pieces can be a viable option.
Consider your budget, time availability, and level of expertise to pick the method that best suits your requirements.
Now that you’re equipped with the necessary tools and knowledge, you’re ready to embark on your chrome delete journey. In the following sections, we’ll dive deeper into each method, providing step-by-step instructions to ensure a seamless chrome delete process.
Step-by-Step Guide For Chrome Delete
Chrome accents on cars can add a touch of elegance and style, but if you’re looking for a more sleek and modern appearance, a chrome delete is the way to go. Chrome delete refers to the process of removing the chrome trims and accents from your vehicle, and it can drastically change the overall look of your car. If you’re considering a chrome delete, follow this step-by-step guide to achieve professional results.
Prepare The Surface
Before you begin the process of chrome deletion, it’s crucial to prepare the surface properly to ensure a flawless finish. Here are the steps you need to follow:
- Wash your car thoroughly to remove any dirt, grime, or debris. This will ensure that the chrome trim is clean and ready for removal.
- Use a degreaser or rubbing alcohol to clean the chrome trims. This step will eliminate any wax or grease that might interfere with the adhesion of the chrome delete material.
- Mask off the areas surrounding the chrome trim using painter’s tape. This will protect the surrounding surfaces from accidental damage.
Remove The Chrome
Now that the surface is prepared, it’s time to remove the chrome trims from your vehicle. Here’s how:
- Carefully pry off the chrome trim using a plastic pry tool. Be gentle to avoid any scratches or damage to the underlying paint.
- If the chrome trims are held in place with adhesive, use a heat gun to soften the adhesive and make it easier to remove. Slowly peel off the chrome trim, applying heat as needed.
- For stubborn adhesive residue, use a mild adhesive remover and a microfiber cloth to wipe it away. Take extra care not to damage the paint finish.
Clean And Polish
With the chrome trims successfully removed, it’s time to clean and polish the surface to achieve a seamless look. Here are the final steps:
- Wipe down the surface with a microfiber cloth and a mild automotive soap to remove any remaining residue and ensure a clean surface.
- Using a high-quality automotive polish, apply a thin layer to the areas where the chrome trims used to be. This will help to blend the paint and achieve a smooth finish.
- Buff the polished areas with a clean microfiber cloth to restore the shine and bring out the best in your car’s new look.
By following this step-by-step guide, you can complete a chrome delete on your car and transform its appearance. Remember to take your time, be cautious, and enjoy the process. Before you know it, you’ll be cruising in a sleek, modern-looking vehicle that turns heads on the road.
Final Words
Chrome delete for your car is a popular way to add a sleek and customized look to your vehicle. By following the steps we’ve outlined in this post, you can confidently undertake this DIY project and achieve the desired results.
Remember to use high-quality materials, take your time, and pay attention to detail for a professional finish. Whether you’re looking to enhance your car’s aesthetics or simply give it a fresh new look, chrome delete can be a great option.
Start transforming your car today!


