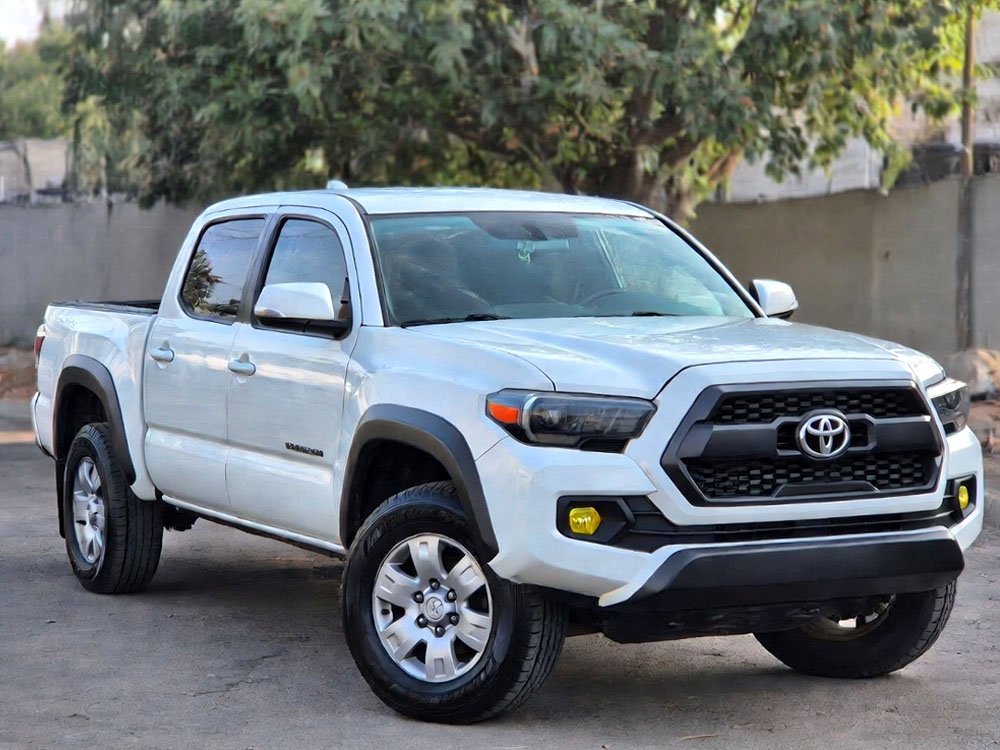
So long, I’ve seen folks spend eighty bucks at a shop for a two minute job. It breaks my heart because your truck is begging for fresh air. You might notice a dusty smell or weak AC when your filter is clogged. I will show you how to change cabin air filter in Toyota Tacoma so you can save cash and breathe better today.
You need to start by clearing out your glove box and looking for the hidden plastic cover in the back. Gently pinch the tabs on that small door to pull it away from the housing. Once it is open, slide the old, dirty filter straight out while watching which way the arrow points. Put the new filter in with the arrow facing down toward the floor. Snap the plastic cover back on tight and put your stuff back in the glove box to finish up.
Why Should You Care About Your Toyota Tacoma Air Filter?
Your truck is like a big vacuum cleaner on the road. It sucks up dirt, pollen, and even tiny bits of tire rubber as you drive. The cabin filter stops all that junk from hitting your face when you turn on the fan. If you leave a dirty one in there too long, it puts a lot of stress on your blower motor.
A clogged filter makes your heater work way harder than it needs to. You might also notice that your windows fog up much faster on rainy days. This happens because the air can’t flow through the system to dry out the cabin. Changing it yourself ensures you get the highest quality air without paying a mechanic for a simple task.
I always tell my friends that this is the easiest “win” for truck maintenance. It takes almost no tools and makes a massive difference in how your interior feels. You will notice the fan sounds quieter and the air feels colder right away. It is a small job that gives you a huge boost in comfort during those long summer drives.
- Better air quality inside the truck.
- Protection for your AC blower motor.
- Faster defrosting on cold mornings.
- No more musty or dusty smells.
- Saves you money on dealership labor.
- Prevents dust from coating your dashboard.
Steps to Change Cabin Air Filter in Toyota Tacoma
Empty Your Glove Box Completely
Start by taking everything out of your glove box so it is empty. You don’t want your registration or heavy flashlights falling on your toes later. I usually just toss everything onto the passenger seat for a moment. This gives you a clear view of the back panel where the magic happens.
If your glove box is stuffed full, the weight can make the plastic hinges sag. Take a second to check if anything has fallen behind the bin over the years. I once found a lost credit card stuck back there while doing a simple filter swap. Keeping it clear makes the whole process much smoother and faster for you.
Once it is empty, look at the right side of the glove box door. You will see a small shock absorber arm that helps the door drop slowly. You need to unhook this little arm before you can drop the door all the way down. Just pull it gently toward the passenger door and it should pop right off the plastic peg.
- Remove all heavy items first.
- Check for loose papers behind the bin.
- Unhook the dampener arm on the right.
- Don’t force the plastic parts.
Release the Glove Box Door
Now you need to squeeze the sides of the glove box inward. This part feels a bit scary the first time, but the plastic is very flexible. Push both sides toward the center of the box until the stoppers clear the dashboard frame. The whole door will then swing down toward the floor mat.
Be careful not to let the door just slam down on its hinges. I usually hold it with one hand while I squeeze with the other to keep things controlled. Some older Tacomas might have a bit stiffer plastic if it is cold outside. If the plastic feels brittle, just move a bit slower to avoid any cracks.
Once the door is hanging down, you have a perfect view of the filter housing. It looks like a long, thin rectangular door made of black or white plastic. This is the “gatekeeper” that holds your filter in place while you bounce down the trail. Now you are ready to get to the actual filter inside.
- Squeeze the top corners inward.
- Support the door with your hand.
- Let the door swing fully down.
- Ensure the hinges stay attached.
Remove the Plastic Filter Cover
Look for the small tabs on the ends of the rectangular cover. Usually, you just have to pinch these tabs and pull the cover toward you. It should click and come off without much struggle at all. Set this cover on the floor so you don’t lose it under the seat.
I have seen people try to pry these off with a screwdriver, but please don’t do that. Your fingers are all you need for this part of the job. If it feels stuck, check if there is a tiny bit of plastic flash holding it in place. A gentle wiggle usually does the trick better than a hard pull.
Behind this door, you will finally see the edge of the white filter. It might look grey or black if it hasn’t been changed in a few years. Take a mental note of how it sits in the slot before you touch it. Seeing how the old one fits helps you slide the new one in perfectly.
- Pinch the side tabs firmly.
- Pull the cover straight back.
- Keep the cover in a safe spot.
- Use your bare hands only.
Slide the Old Filter Out
Reach in and grab the edge of the old filter to pull it out. Be ready for a bit of a mess because leaves and pine needles often sit on top. I like to keep a small trash bag or a vacuum nearby when I do this. Sometimes a whole bird’s nest of debris can come sliding out with the filter.
Keep the filter flat as you pull it out so the dirt doesn’t fall into the fan. If junk falls into the blower motor below, it can cause a clicking noise later. If you see leaves sitting in the fan blades, try to pick them out carefully. A clean fan is a quiet fan, and you want it to stay that way.
Take a good look at the old filter once it is out of the truck. If it is full of black soot or thick dust, you definitely waited too long to change it. This is the best time to see what you have been breathing in lately. It really shows you why this cheap part is so important for your health.
- Pull the filter out slowly.
- Keep it level to catch dirt.
- Vacuum any loose leaves inside.
- Check for mouse nests or damage.
Install the New Filter Correctly
Now take your new filter out of the plastic wrap. Look for the “Air Flow” arrow printed on the side of the filter frame. On a Tacoma, the air moves from the top down toward the floor. This means you must point that arrow down so the filter works the right way.
If you put it in upside down, it might still fit, but it won’t clean the air as well. The pleats are designed to catch dirt from one specific direction for the best flow. Sliding it in should feel very smooth and shouldn’t require any folding or shoving. It should sit nice and flush inside the rectangular hole.
Double check the edges to make sure the filter isn’t bunched up anywhere. A gap at the edge lets dirty air bypass the filter entirely and get into your lungs. Once it looks straight and the arrow is pointing down, you are almost finished with the whole project. You are doing a great job caring for your truck.
- Check the airflow arrow direction.
- Point the arrow toward the floor.
- Slide it in without bending it.
- Verify the filter sits flush.
Reassemble the Glove Box Parts
Snap the plastic cover back onto the filter housing until you hear it click. This click tells you the seal is tight and no air will leak out. Then, lift the glove box door back up and squeeze the sides to pop it past the frame. It should stay up on its own once those stoppers are back in place.
Don’t forget to reattach that small dampener arm on the right side of the box. Just slide the end of the arm back onto the plastic peg until it snaps. This ensures your glove box opens softly instead of hitting your passenger’s knees. It is a tiny detail that makes the truck feel high quality and well maintained.
Finally, put all your stuff back inside the box and close it up. Give the fan a quick test on the high setting to make sure everything sounds normal. You should feel a nice, strong blast of fresh air coming through the vents. You just finished the job like a pro and saved yourself a trip to the shop.
- Listen for the cover to click.
- Pop the door back into place.
- Reconnect the side dampener arm.
- Test the fan on high speed.
How Often Do I Need to Swap the Filter in Toyota Tacoma?
Most manuals say you should do this every fifteen thousand miles. However, if you drive on dirt roads or live in a dusty area, you should check it more often. I usually check mine every time I change the oil just to be safe. It only takes a minute to look, so why not be sure?
If you live in a city with lots of smog, your filter might turn black faster than usual. Also, during pollen season, the filter can get clogged with yellow dust in just a few months. Your nose is actually a great tool for telling you when it is time for a fresh one. If the truck smells like a locker room, go ahead and swap it.
Waiting too long can actually cause your AC system to freeze up. When air can’t move fast enough over the cooling coils, they get too cold and turn into a block of ice. Then you get no air at all, which is a nightmare on a hot day. Keeping a fresh filter prevents these expensive and annoying problems from ever happening.
- Every 15,000 miles is standard.
- Check more often for off-road use.
- Replace if you notice bad smells.
- Swap after heavy pollen seasons.
- Don’t wait for the AC to fail.
- Check it during every oil change.
Final Thoughts
I hope you feel ready to tackle this quick task on your own now. Taking care of your truck doesn’t always require a heavy toolbox or a lot of time. When you know how to change cabin air filter in Toyota Tacoma, you keep your air clean and your wallet full. You’ve got this, so go out there and give your Tacoma the fresh air it deserves today.
| Feature | Details |
| Tool Needed | None (Hands only) |
| Time Required | 5 to 10 minutes |
| Filter Location | Behind the glove box |
| Airflow Direction | Facing Down (Arrow down) |
| Standard Interval | 15,000 miles |
| Difficulty Level | Very Easy |
| Cost Estimate | $15 – $25 for the part |
Frequently Asked Questions (FAQs)
Is it okay to just knock the dust off the old filter?
You can do this in a pinch, but it isn’t a long-term fix. Shaking the filter gets rid of the big leaves, but it doesn’t remove the tiny particles stuck deep in the fibers. Those tiny bits of dust are what actually block the airflow. It is always better to buy a brand new one for the best results.
Can I spray perfume on the filter for a nice smell?
I don’t recommend spraying liquids directly onto the paper filter. The moisture can cause the paper to break down or even grow mold over time. If you want a fresh scent, look for filters that have built-in baking soda or charcoal. Those are designed to neutralize odors safely without damaging the AC system or your health.
Do I need to wear a mask while changing it?
If you have bad allergies or the filter looks extremely moldy, wearing a mask is a smart move. When you pull the filter out, a cloud of fine dust often flies into the air. If you are sensitive to pollen or dust mites, that little cloud can make you sneeze for the rest of the day.
Is a charcoal filter better than a regular one?
Yes, charcoal filters are great if you drive in heavy traffic or near farms. The charcoal layer helps soak up smells like exhaust fumes or “country” odors. They cost a few dollars more, but most drivers think the cleaner smell is worth the extra price. It makes the cabin feel much more premium and clean.
Can a dirty filter hurt my gas mileage?
It won’t directly change how much gas your engine burns, but it affects the AC system. A clogged filter makes the blower motor and the AC compressor work harder to cool the cabin. This puts a tiny bit of extra load on the engine. While the change is small, every little bit of efficiency helps these days.
Do I have to buy the filter from the Toyota dealer?
You certainly don’t have to go to the dealer for this part. Many local auto parts stores or online shops sell filters that fit perfectly for half the price. Just make sure you check the fitment for your specific year of Tacoma. Most Tacomas from the last twenty years use very similar filter sizes.
Is there a way to wash the filter and reuse it?
Most cabin filters are made of paper and will fall apart if they get wet. Unless you bought a special “washable” high-performance filter, you should throw the old one away. Trying to wash a standard paper filter will just create a soggy mess that won’t let any air through once it finally dries.
Do I need any tools for a 2026 Tacoma?
Most Toyota trucks are designed so you can access the filter with your bare hands. You might need a small screwdriver if a plastic clip is being stubborn, but that is rare. The goal of the design is to make it easy for owners to do basic maintenance. Just use a gentle touch on the plastic.