To blend car paint spot repair, start by sanding down the repair area and feathering the edges. Then, apply the base coat of paint, followed by the clear coat, making sure to blend it with the surrounding area.
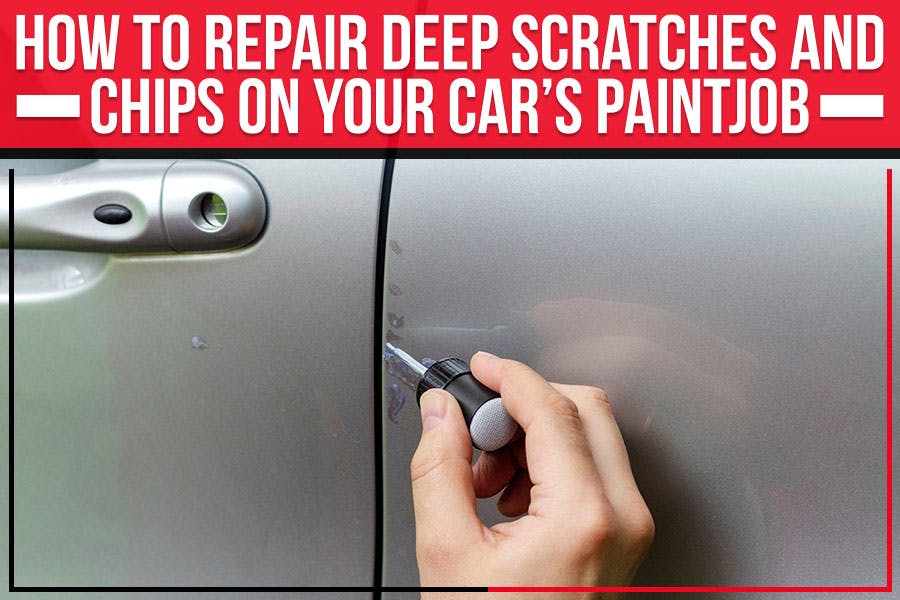
Credit: www.suntoyota.com
Understanding Car Paint Spot Repair
When it comes to maintaining your car’s appearance, dealing with paint spot damages can be a frustrating task. However, understanding car paint spot repair is crucial not only for enhancing the overall look of your vehicle but also for protecting it from further damage. Whether it’s unsightly scratches, chips, or scrapes, knowing how to blend car paint spot repair can save you time and money in the long run. In this blog post, we’ll explore different types of paint damage, the importance of spot repairs, and the materials needed for achieving a seamless finish.
Types Of Paint Damage
Before diving into car paint spot repair, it’s essential to familiarize yourself with the various types of paint damage you may encounter:
- Scratches: These superficial marks on the car’s surface can result from keys, branches, or other objects making contact with the paint.
- Chips: Small chunks of paint missing due to gravel or stones striking the vehicle.
- Scrapes: Typically caused by minor accidents or brushes against objects that leave more extensive damage than scratches.
Importance Of Spot Repairs
Spot repairs may seem like a minor task, but their importance should not be underestimated. Here’s why:
- Preserves Car Value: Maintaining a flawless paint job increases your vehicle’s resale value, as potential buyers are more likely to be attracted to a car without visible paint damage.
- Prevents Corrosion: Leaving paint chips or scratches untreated exposes the underlying metal to moisture and rust, leading to expensive repair work in the future.
- Enhances Aesthetics: Spot repairs help maintain the overall appearance of your car, ensuring it looks well-maintained and cared for.
Materials Needed
Now that you understand the types of paint damage and the importance of spot repairs, let’s explore the necessary materials for blending car paint spot repair:
| Materials | Description |
|---|---|
| Automotive Touch-Up Paint | The exact color match to your car’s existing paint is essential for achieving a seamless repair. |
| Primer | Provides a smooth and even surface for the touch-up paint to adhere to. |
| Sandpaper | Helps prepare the damaged area by smoothing out any rough edges. |
| Clean Cloth | Used for cleaning the surface before applying the touch-up paint. |
| Applicator Tools | Includes brushes or soft applicator pads for precise paint application. |
| Clear Coat | Protects the repaired area and provides a glossy finish. |
By having these materials ready, you can ensure a successful car paint spot repair without any hassles.
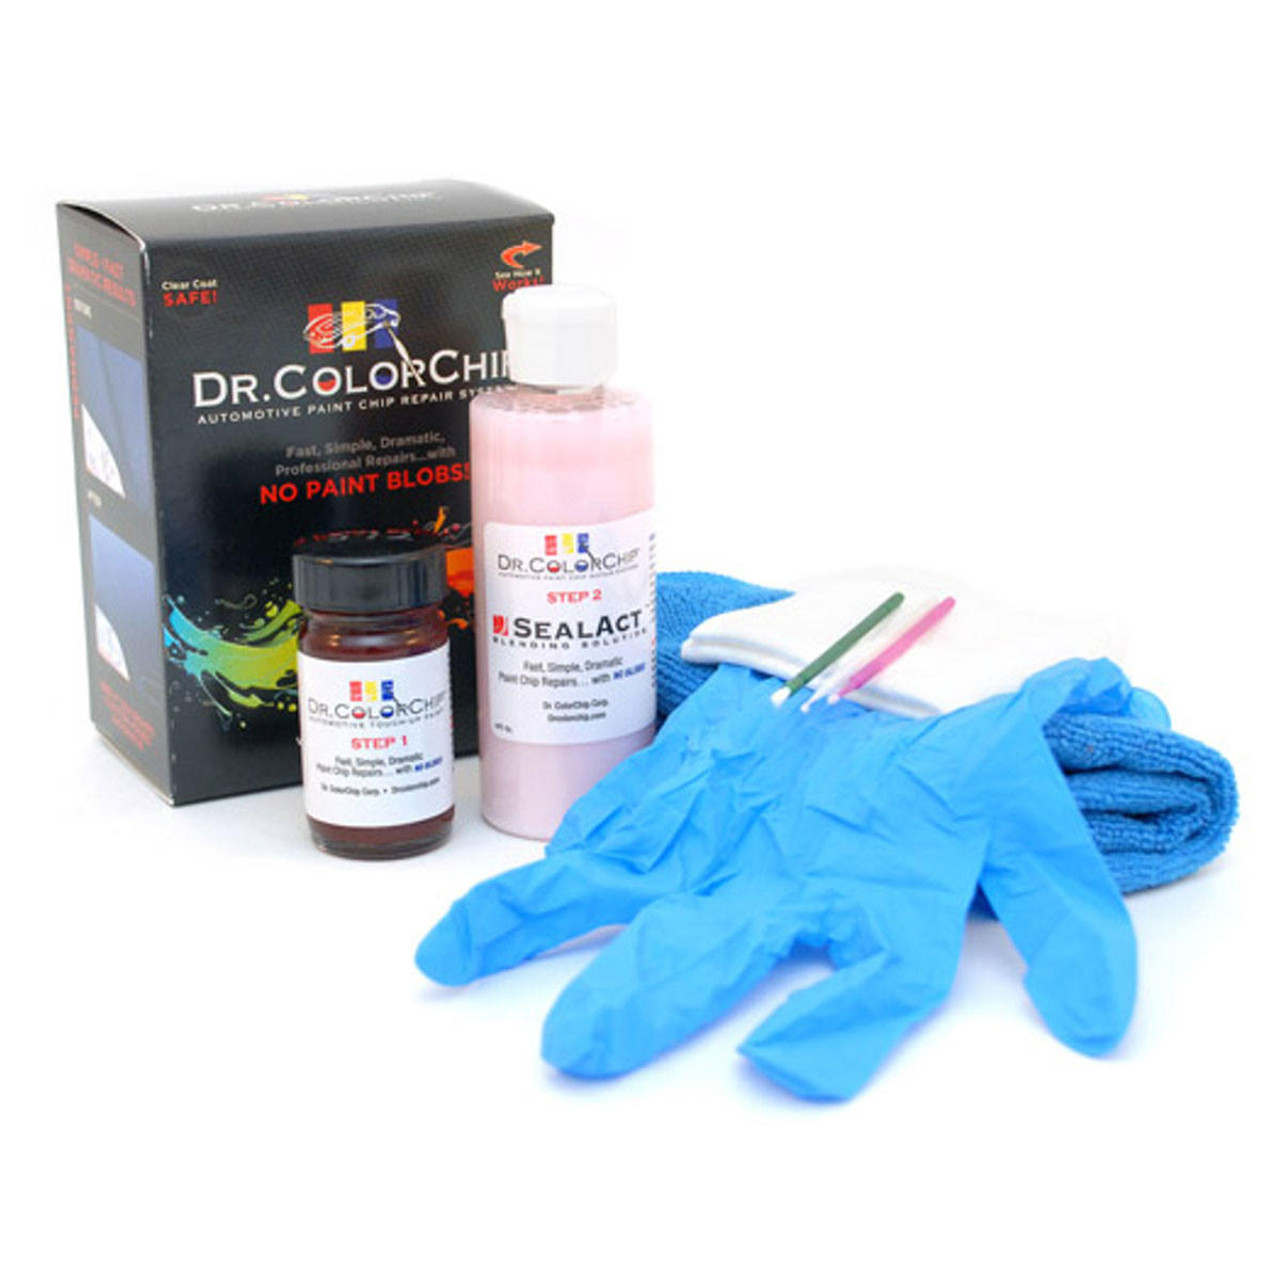
Credit: www.autogeek.net
Preparing The Car Surface
Before you start blending car paint spot repair, it’s crucial to properly prepare the damaged area by cleaning, sanding, and priming the surface. These steps will ensure a smooth and seamless finish that blends seamlessly with the rest of your vehicle’s paint job. In this guide, we’ll take you through each of these essential stages, providing you with the necessary tips and techniques to achieve professional results.
Cleaning The Damaged Area
First and foremost, you need to clean the damaged area to remove any dirt, grime, or debris that could interfere with the paint application. Start by washing the surrounding area with a mild car soap and water solution. Rinse off any soap residue and dry the surface with a clean microfiber cloth.
Next, use a grease and wax remover to eliminate any traces of contaminants that might be hiding on the surface. Apply the remover to a clean cloth and gently scrub the damaged area, ensuring you cover the entire surface. This step is crucial for optimal paint adhesion and a seamless blend.
Sanding The Spot
After cleaning the damaged area, it’s time to sand the spot to level the surface and promote a smooth blend. Start by using a fine-grit sandpaper, around 320 to 400 grit, and lightly sand the painted area in a circular motion. Be careful not to sand too aggressively, as this can damage the surrounding paint.
Continue sanding until the damaged paint is smooth and level with the surrounding surface. Remember to periodically check your progress by running your hand over the area to feel for any imperfections. Once you’ve achieved a uniform surface, wipe away any sanding dust with a clean, lint-free cloth.
Priming The Surface
Now that the spot is clean and smoothly sanded, it’s time to apply a primer to ensure proper adhesion of the new paint. Priming the surface creates a stable foundation and helps the new paint blend seamlessly with the old paint.
Choose a high-quality automotive primer that matches the type of paint you’ll be using. Apply a thin and even coat using smooth, sweeping motions. Allow the primer to dry according to the manufacturer’s instructions before moving on to the next step.
Please note that depending on the extent of the damage and the specific product you’re using, you may need multiple coats of primer. Follow the instructions provided with the primer to achieve the best results.
By thoroughly cleaning, sanding, and priming the damaged area, you’ll be one step closer to achieving a flawless blend with your car’s paint. In the next section, we’ll cover the process of applying the paint itself, bringing your spot repair to its final perfect finish.
Blending The Paint
Blend car paint spot repairs seamlessly with these easy-to-follow steps. Achieve a flawless finish by properly preparing the area, applying the paint, and feathering the edges for a seamless integration. Follow these guidelines for professional-looking results.
Matching The Paint Color
When it comes to blending car paint spot repair, one crucial step is matching the paint color. You want the repaired area to seamlessly blend with the rest of the car’s surface, so it’s important to find the right shade. Start by locating the paint code on your vehicle, which can usually be found on a sticker inside the driver’s door jamb or in the owner’s manual. Once you have the code, you can use it to purchase an exact match of your car’s paint color.Applying The Base Coat
Once you have the matching paint, it’s time to apply the base coat. Before you begin, make sure the surface is clean and free of any dirt or debris. Using a high-quality primer, apply a thin coat to the repaired area, extending slightly beyond the edges of the spot. This will help the paint adhere properly and create a smooth base for the color coat.Layering And Feathering Techniques
To achieve a seamless blend, it’s essential to use layering and feathering techniques. Start by applying a light coat of the color-matched paint over the repaired area, making sure to feather the edges into the surrounding paint for a gradual transition. Repeat this process, applying additional thin layers and feathering the edges each time. Building up the paint gradually will help achieve an even color distribution and prevent any noticeable lines or edges.Additional Tips:
| – Clean the surface of the car thoroughly before starting the blending process to ensure optimal adhesion. |
| – Wait for each coat of paint to dry completely before applying the next layer. |
| – Use light, even strokes when applying the paint to avoid uneven coverage. |
| – If necessary, use a sanding block or fine-grit sandpaper to smooth out any rough areas between coats. |
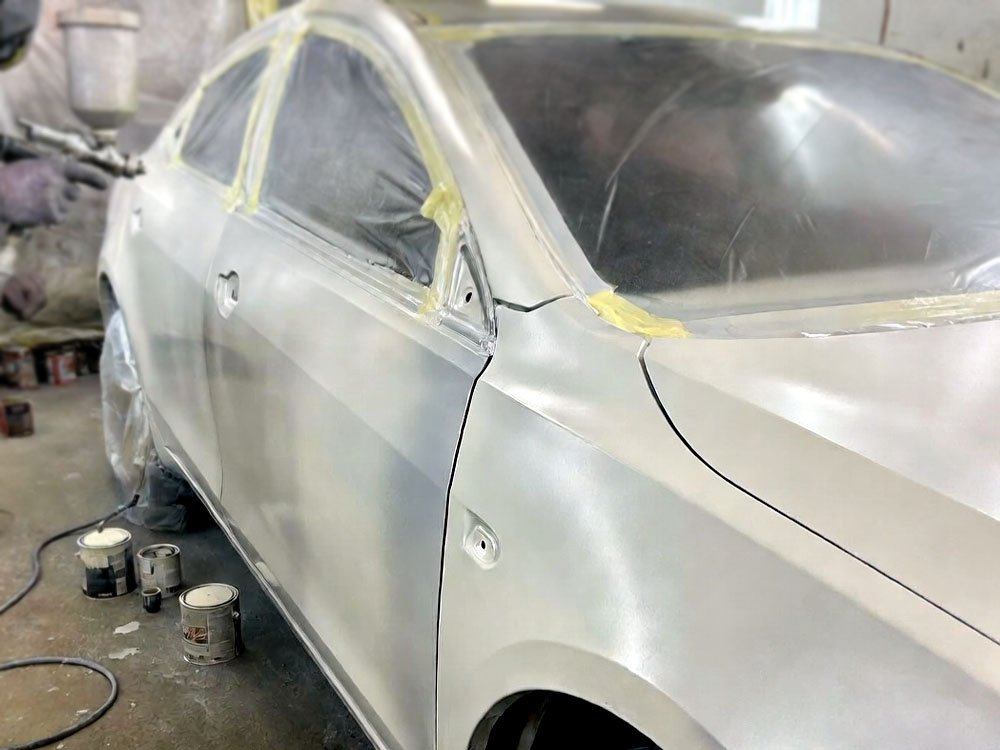
| – Remember to protect surrounding areas from overspray by using masking tape or plastic sheeting. |
| – After the final coat, allow the paint to cure for the recommended time before applying any protective clear coat. |
Finishing Touches For Flawless Results
Discover the secrets to achieving a flawless car paint spot repair with our helpful tips for blending and achieving perfect results. Enhance your finishing touches and create a seamless finish that will leave your car looking brand new.
Introduction
When it comes to blending car paint spot repairs, the finishing touches are crucial for achieving flawless results. These final steps not only enhance the appearance of the repaired area but also ensure that the paint seamlessly merges with the surrounding surface. In this article, we will guide you through the essential techniques to perfect your spot repairs. Let’s explore the steps for applying clear coat, buffing and polishing, and the protective measures you need to take to safeguard your flawless results.
Applying Clear Coat
Applying a clear coat is an essential step in achieving a seamless blend between the repaired and original paintwork. The clear coat provides a protective layer while enhancing the shine and depth of your paint job. Follow these steps to apply clear coat like a professional:
- Clean the repaired area thoroughly with a mild car wash soap and water.
- Use a clean, lint-free cloth to dry the area completely.
- Ensure the surface is free from any contaminants or debris before applying the clear coat.
- Shake the clear coat can well to ensure proper mixing of the contents.
- Hold the can approximately 8-10 inches away from the surface and apply the clear coat in thin, even layers.
- Allow each layer to dry completely before applying the next, following the instructions provided by the manufacturer.
Remember, applying thin layers is key to avoid runs or drips in the clear coat, which can ruin the flawless finish you’ve worked hard to achieve.
Buffing And Polishing
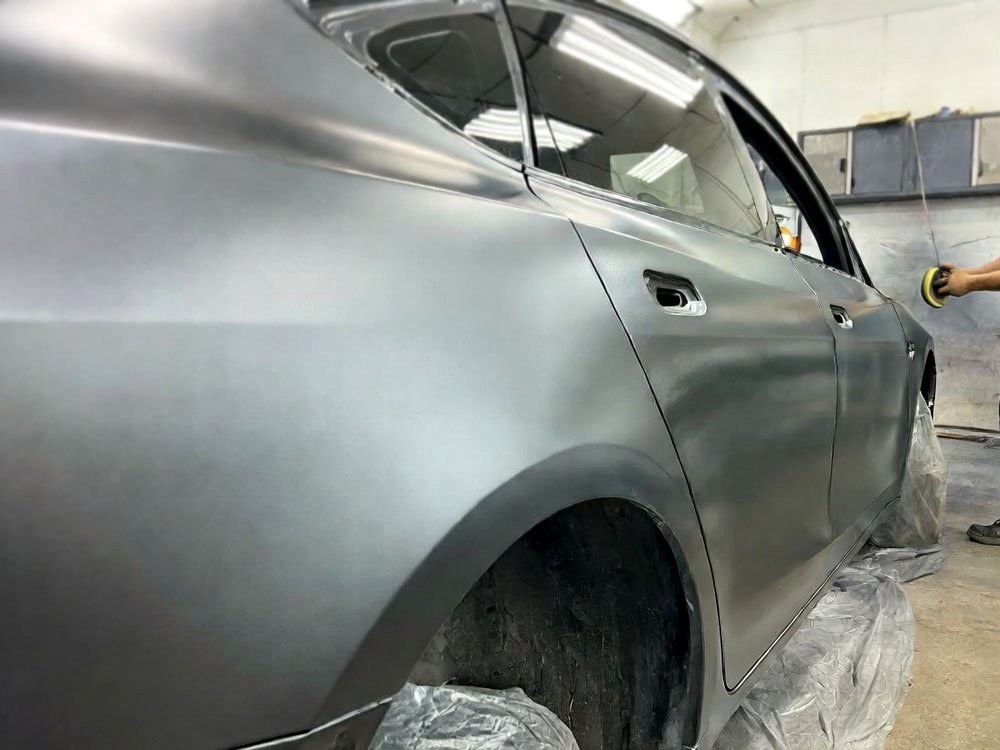
Buffing and polishing play a vital role in bringing out the best shine and smoothness of your blended paint repair. This step helps to level the clear coat, remove any imperfections, and create a glossy finish. Follow these techniques for buffing and polishing:
- Start by selecting a quality buffing pad suitable for your specific clear coat.
- Apply a small amount of car polish or compound to the pad.
- Using a low-speed polisher, gently buff the repaired area in circular motions, gradually extending the buffing motion to include the surrounding paintwork.
- Keep the polisher moving at a constant speed to avoid excessive heat, which can damage the clear coat.
- Continue buffing until the repaired area blends seamlessly with the surrounding paintwork and achieves a smooth, glossy surface.
Remember, patience is key during the buffing and polishing process. Take your time and make sure to regularly assess the progress to avoid over-buffing or creating uneven surfaces.
Protective Measures
Protecting your flawless paint spot repair is crucial to maintain its longevity and appearance. Here are some protective measures to follow:
- Wait for the clear coat to cure fully before exposing it to any contaminants, such as dust, dirt, or harsh weather conditions.
- Avoid washing or waxing your car for at least a week after the repair to allow the clear coat to harden properly.
- Use a high-quality car wax or sealant to provide an additional layer of protection against UV rays, oxidation, and other environmental factors.
- Regularly wash and maintain your car to prevent the buildup of dirt or debris that could diminish the appearance of your spot repair.
By following these protective measures, you can ensure the longevity and flawless finish of your blended paint spot repair.
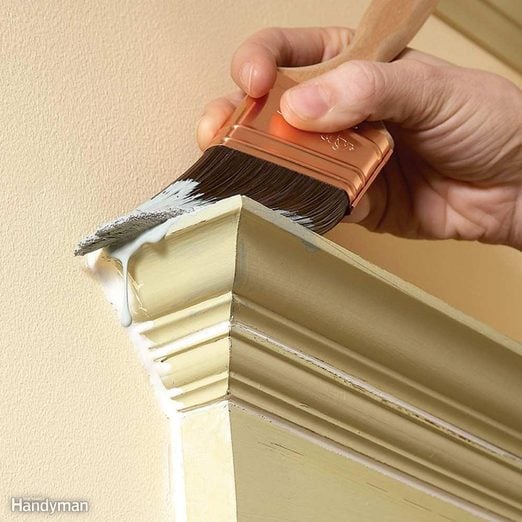
Credit: www.familyhandyman.com
Frequently Asked Questions Of How To Blend Car Paint Spot Repair
How Do You Blend Paint Patches On A Car?
To blend paint patches on a car, follow these steps:1. Clean the affected area thoroughly. 2. Lightly sand the edges of the patch to smooth them out. 3. Apply a primer coat to help the new paint adhere. 4. Gradually layer the new paint onto the patch, feathering the edges to blend it smoothly.
5. Allow the paint to dry and apply a clear coat for added protection.
How Do You Fix Spotty Paint On A Car?
To fix spotty paint on a car, start by cleaning the affected area with soap and water. Sand the spotty areas gently using fine-grit sandpaper, and wipe away any dust. Apply a coat of primer, followed by a matching touch-up paint.
Allow it to dry, and then apply a clear coat for a seamless finish.
How Do You Touch Up Paint Spots On A Car?
To touch up paint spots on a car, clean the area, sand any rough edges, and match the paint color. Apply the touch-up paint with a small brush or pen, and let it dry completely. Finally, use a fine-grit sandpaper to smooth out the surface, and then polish and wax the area for a seamless finish.
Will Car Touch Up Paint Blend In?
Yes, car touch up paint can blend in if applied properly, matching the color of your car. By carefully following instructions and using the correct technique, you can achieve seamless touch-ups that are virtually unnoticeable.
How Long Does It Take To Blend Car Paint Spot Repair?
Blending car paint spot repair typically takes between 2-4 hours, depending on the extent of the damage and the paint matching process.
What Tools And Materials Do I Need For Car Paint Spot Repair?
To blend car paint spot repair, you will need sandpaper, primer, paint, clear coat, masking tape, a spray gun, and a buffing pad.
Conclusion
Incorporating the proper techniques and tools, you can seamlessly blend car paint spot repairs for a flawless finish. By carefully following the steps outlined in this guide, you can effectively cover up imperfections and restore your vehicle’s appearance. Remember to always take your time, be patient, and stay diligent throughout the process.
With practice, you’ll develop the skills needed to achieve professional-looking results. So, grab your tools and get ready to tackle those unsightly paint spots!


