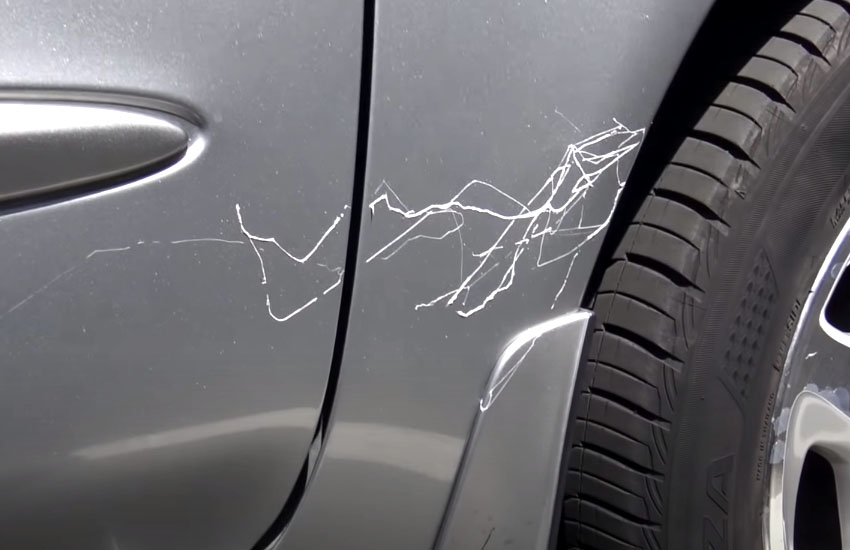
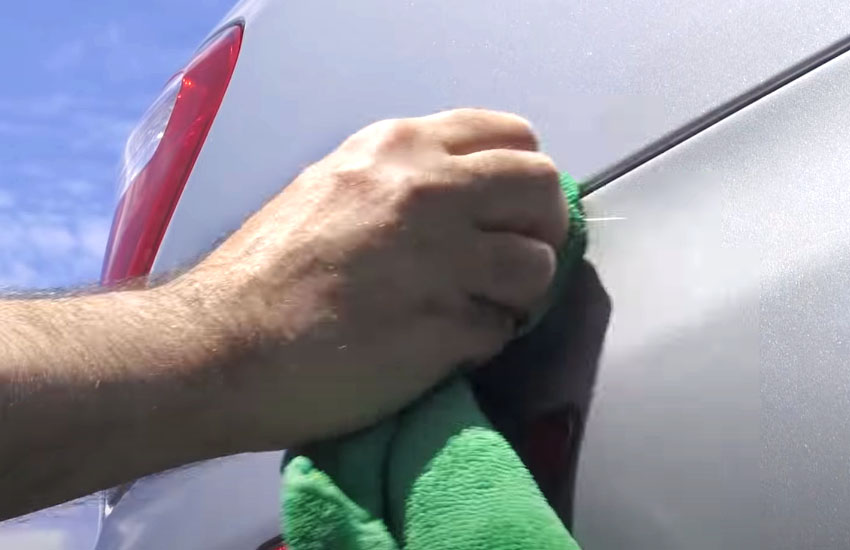
Are you dealing with the pesky problem of gum stuck on your car paint? Don’t worry, we’ve got you covered! We understand that finding gum stuck on your car can be frustrating and unsightly, but with the right techniques, you can easily remove it and restore the beauty of your car’s paintwork.
In this guide, we will walk you through step-by-step instructions on how to effectively remove gum from car paint without causing any damage. From simple household remedies to specialized products, we will provide you with the best solutions to get rid of gum and get your car looking as good as new.

Method 1: Using Ice
Removing gum from car paint can be a daunting task, but with the right approach, it’s possible to get your car looking good as new. One effective method to remove gum from car paint is by using ice. This method freezes the gum, making it easier to scrape off without damaging the paint. Follow these steps to successfully remove gum from your car’s paint using ice.
Step 1: Gather Necessary Materials
Prior to starting the gum removal process, gather the following materials:
- Ice cubes or an ice pack
- Plastic bag or plastic gloves (optional)
- Plastic scraper or a credit card
- Mild car soap
- Microfiber cloth or soft sponge
Step 2: Freeze The Gum With Ice
Take an ice cube or an ice pack and place it directly onto the gum. If using an ice pack, wrap it in a plastic bag to prevent water leakage. Hold the ice on the gum for a few minutes, allowing it to freeze and harden. The cold temperature will cause the gum to contract, making it easier to remove.
Step 3: Scrape Off The Gum
Once the gum is frozen and hardened, take a plastic scraper or a credit card and gently scrape the gum off the car’s paint. Be cautious while scraping to avoid scratching the paint. Work slowly and methodically, applying gentle pressure until all the gum is removed. If necessary, you can reapply the ice to harden any remaining gum before continuing to scrape.
Step 4: Clean The Area
After successfully removing the gum, it’s crucial to clean the area thoroughly to remove any residue. Mix a small amount of mild car soap with water to create a soapy solution. Using a microfiber cloth or a soft sponge, gently clean the affected area, removing any leftover gum or stains. Rinse the area with clean water and dry it with a separate microfiber cloth.
Removing gum from car paint can be a time-consuming process, but by following these steps, you can ensure that your car’s paint remains unharmed while getting rid of the unsightly gum. Remember to always be gentle and patient during the process to avoid any damage.
Method 2: Using Peanut Butter
Removing gum from car paint can be a tricky task, but one method that has been proven effective is using peanut butter. Peanut butter’s natural oils help to break down the gum, making it easier to remove without causing any damage to your car’s paint. Here is a step-by-step guide on how to use peanut butter to remove gum from car paint:
Step 1: Apply Peanut Butter On The Gum
The first step is to apply a generous amount of peanut butter directly onto the gum. Make sure to cover the entire gum area with peanut butter. The oils in the peanut butter will work to break down the gum and loosen its grip on the car paint.
Step 2: Let It Sit For A Few Minutes
After applying the peanut butter, let it sit for a few minutes to allow the oils to penetrate the gum. This will make it easier to remove the gum without leaving any residue behind.
Step 3: Gently Remove The Gum
Using a soft cloth or your fingers, gently rub the gum in a circular motion. The peanut butter will help to lift the gum off the car paint without causing any scratching or damage. Continue rubbing until the gum is completely removed.
Step 4: Clean The Area
After removing the gum, clean the area with a mild soap and water solution. This will ensure that any remaining peanut butter or gum residue is removed from the car paint surface. Rinse the area well and dry it with a clean cloth.
Using peanut butter to remove gum from car paint is a simple and effective method. The natural oils in the peanut butter break down the gum, making it easy to remove without causing any damage. Follow these steps and say goodbye to those sticky gum spots on your car!
Method 3: Using Wd-40
When it comes to removing gum from car paint, one of the most effective and convenient methods is using WD-40. This multipurpose lubricant not only helps in loosening the gum from the surface but also protects the paint from any potential damage. Follow the below steps to successfully remove gum using WD-40.
Step 1: Spray Wd-40 On The Gum
The first step in using WD-40 to remove gum from car paint is to spray the affected area generously with the lubricant. Make sure the gum is completely covered with WD-40, allowing it to penetrate and soften the gum for easier removal. This method also works well for removing adhesive residue and other sticky substances.
Step 2: Let It Soak For A Few Minutes
After spraying the WD-40, allow it to sit and soak into the gum for a few minutes. This will give it enough time to break down the gum’s stickiness and make it easier to remove. While the WD-40 is doing its magic, you can prepare a clean cloth or soft brush for the next step.
Step 3: Wipe Off The Gum
Using a clean cloth or a soft brush, gently scrub the gum off the car paint. Be careful not to apply too much pressure as it might damage the paint surface. The WD-40 should have loosened the gum significantly, making it easy to remove without leaving any residue behind. If necessary, reapply more WD-40 and repeat this step until the gum is completely removed.
Step 4: Clean The Area
Once the gum is successfully removed, it’s essential to clean the area to ensure there are no remnants or greasy residue left. You can use warm soapy water and a soft cloth to gently wash the area, removing any traces of the lubricant. After cleaning, inspect the painted surface to ensure it is gum-free and looks spotless.
By following the above steps, you can effectively remove the gum without causing any damage to the paint surface. So, the next time you find gum stuck on your car, grab a can of WD-40 and get rid of it hassle-free!

Conclusion
To wrap it up, removing gum from car paint may seem like a daunting task, but with the right knowledge and steps, it can be a simple process. By using either ice or a commercial adhesive remover, carefully scraping the gum off, and cleaning the surface, you can restore the beauty of your car paint.
Remember to always test any product on a small, inconspicuous area before applying it to the entire affected area. With a little patience and care, you’ll have your car looking as good as new in no time. Don’t let gum ruin your ride any longer!

