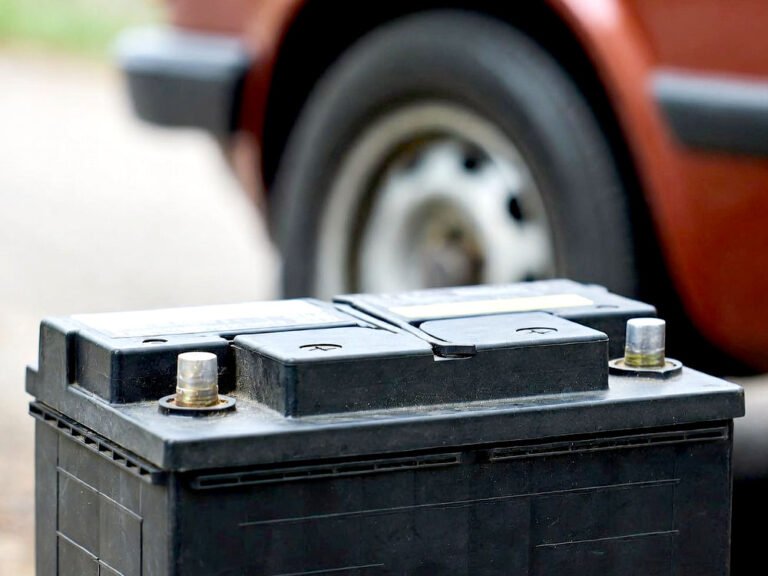
That dim headlight usually shows up at the worst time. You park at home, turn the car off, and notice one side looks tired. It feels annoying, but this job is not a big deal. With a little time and focus, you can swap the headlight on a Mazda 3 without stress. The win comes fast and it feels good.
Key takeaways: Park the Mazda 3 on flat ground and switch everything off, open the hood and let the lights cool down, find the headlight housing behind the lamp, unplug the wiring clip with care, twist and remove the old bulb slowly, avoid touching the glass of the new bulb, install the new bulb firmly, test the light before closing the hood.
Getting the Car Ready and Staying Safe
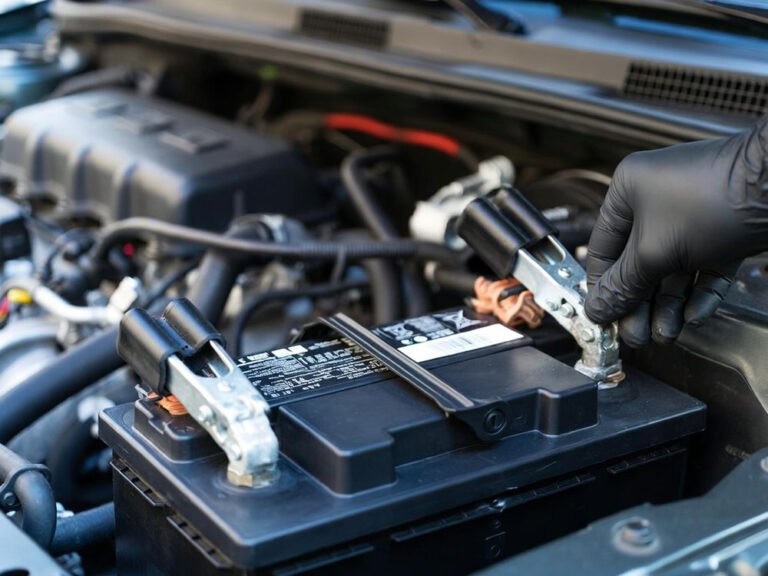
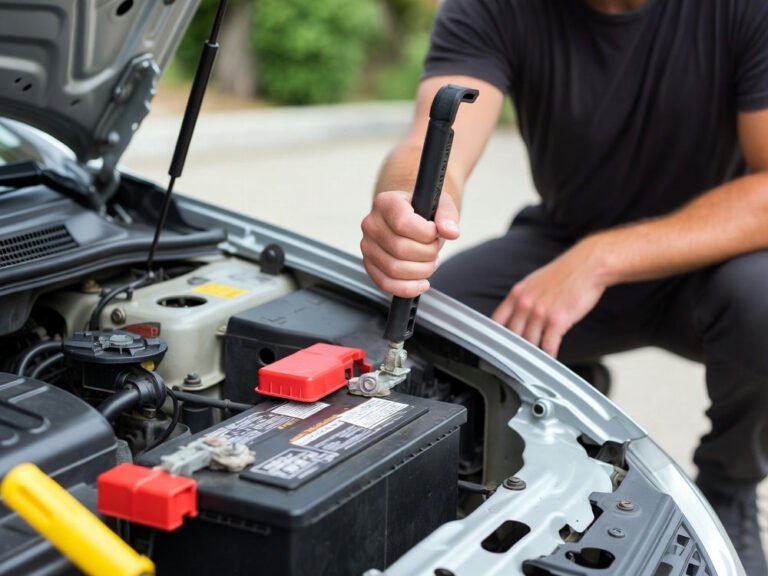
Before touching anything, get the Mazda 3 parked on flat ground. Turn the engine off and pull the key out. Make sure the lights are off too. Headlights get hot and that heat sticks around for a while, so give them time to cool. This keeps your hands safe and avoids damage to parts around the light. While waiting, pop the hood and lock it in place so it stays open.
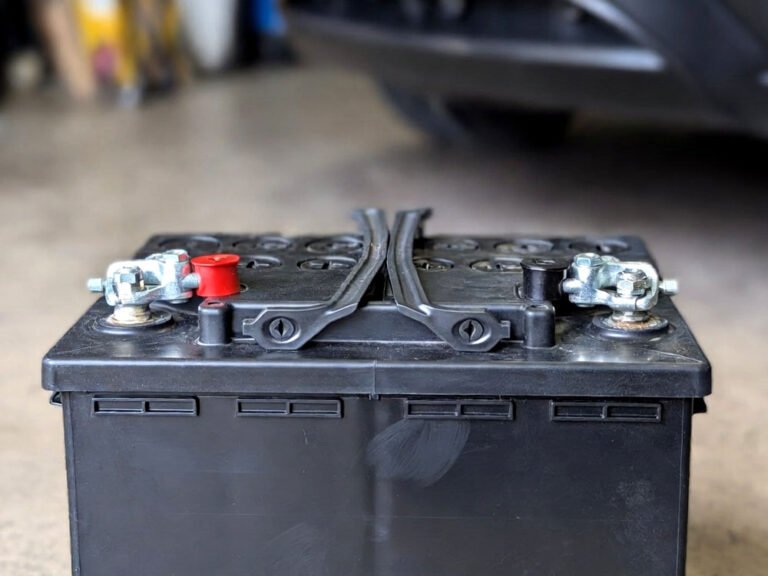
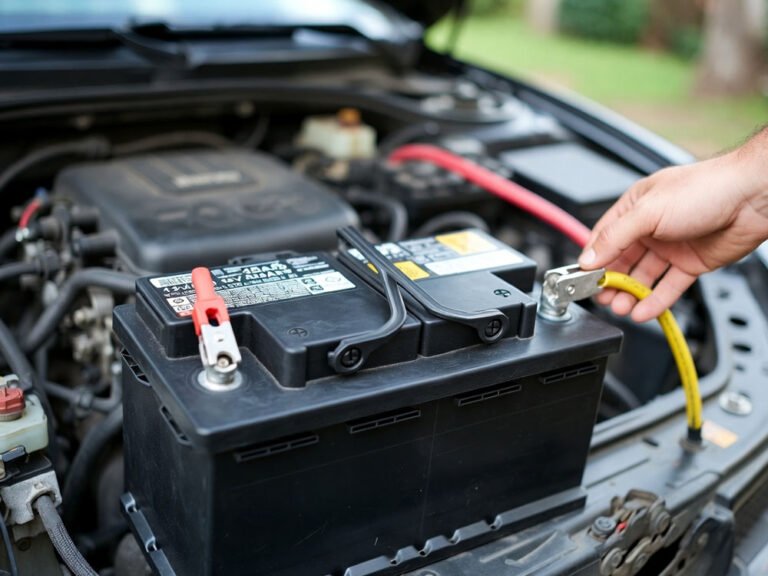
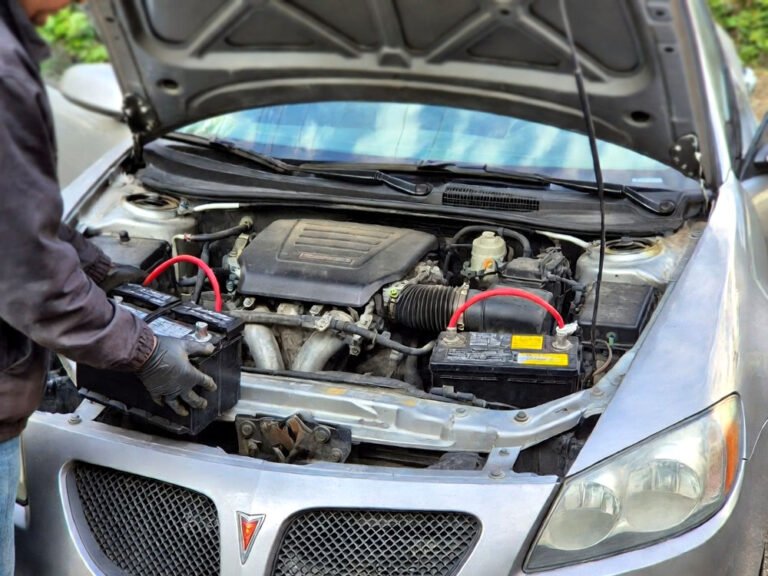
Next, take a moment to look around the engine bay. You do not need to remove the battery or any large parts for most Mazda 3 models. Still, seeing where things sit helps a lot. Notice the back of the headlight area and the space you have to work with. If your hands feel tight in there, turning the front wheels slightly can give a bit more room.
Now think about safety. Wearing gloves helps keep dirt and oil off the new bulb. It also protects your hands from sharp edges. Keep the new bulb nearby in its box. Do not open it yet. Staying organized makes the whole job smooth. When you feel calm and ready, moving forward feels natural and steady.
- Park on flat ground and turn everything off
- Let headlights cool fully
- Open hood and check workspace
- Use gloves to protect hands and bulb
Finding the Headlight Housing
Stand in front of the car and look at the headlight that needs work. Then move to the back side of that light under the hood. You will see a round cover or the back of the bulb holder. This is the headlight housing. Mazda 3 designs are clean, so the housing is usually easy to spot once you know where to look.
Reach in slowly and feel around the back of the headlight. You will notice a wiring connector attached to the bulb. Take a second to see how it sits. Some connectors have a small tab that needs a gentle press before it comes off. Do not pull hard. A calm push and pull motion works best here.
Once the wiring connector is loose, set it aside where it will not snap back. Now you have clear access to the bulb holder. This moment matters because forcing parts can break clips. Keep your movements slow and controlled. When everything feels loose and ready, you are set to remove the old bulb.
- Locate the back of the headlight
- Identify the wiring connector
- Press the tab and unplug gently
- Clear space around the bulb holder
Removing the Old Headlight Bulb
With the connector out of the way, focus on the bulb holder. Most Mazda 3 headlights use a twist lock system. Place your hand on the base and turn it counterclockwise. It should move with a small firm twist. If it feels stuck, pause and adjust your grip rather than forcing it.
After twisting, pull the bulb straight out. Keep it steady as it comes free. Take a look at how it sits in the housing. This shape and angle matter later when putting the new one in. Seeing this now helps avoid guessing later. The old bulb might look cloudy or dark, which explains the weak light.
Set the old bulb down somewhere safe. It can still be warm, so avoid tossing it aside. Do not touch the glass part if you plan to keep it as a spare. This step is simple but important. Once the bulb is out, the hard part is already done.
- Twist the bulb holder counterclockwise
- Pull the bulb straight out
- Notice the bulb position and angle
- Place the old bulb aside carefully
Installing the New Headlight Bulb
Now grab the new bulb but keep it in the package until the last second. Oils from skin can shorten bulb life, so handle it by the base only. Slide it into the housing the same way the old one came out. The shape will guide you if it lines up right.
Once seated, twist the bulb clockwise to lock it in place. You should feel it settle firmly. Do not over twist. Just enough to secure it. After that, reconnect the wiring connector. Push it on until you feel or hear a soft click. That click tells you the connection is solid.
Before closing the hood, pause and check your work. Make sure the bulb sits straight and the connector is not loose. Everything should feel snug. This careful check saves time later and avoids reopening the hood again.
- Handle the bulb by the base only
- Align and insert the new bulb
- Twist clockwise to lock
- Reconnect the wiring connector
Testing the Headlight Before Closing Up
Now comes the moment of truth. Turn the key and switch the headlights on. Step out and look at the front of the car. The new light should glow bright and steady. Compare it with the other side. They should look close in color and strength.
If the light does not turn on, do not panic. Switch everything off and check the connector again. Most issues come from a loose plug or the bulb not seated fully. Adjust it and test again. This quick check saves frustration later on the road.
Once the light works, turn the car off again. Close the hood gently and make sure it locks. Take one last look at the headlight lens from outside. Seeing that bright beam feels rewarding and tells you the job is done right.
- Turn headlights on to test
- Compare both sides for brightness
- Recheck connections if needed
- Close hood securely
Keeping the Headlights Strong Over Time
After changing the headlight, a little care goes a long way. Wipe the headlight lens now and then to keep it clear. Dirt and haze can dull even a new bulb. A quick clean during a car wash helps a lot.
Also, try to change bulbs in pairs when possible. Even if one side works, the other may be close to burnout. Matching bulbs give balanced light and a cleaner look. Keep a spare bulb in the trunk for peace of mind on long drives.
Pay attention to how your headlights look at night. If they seem dim again, it may be time for another swap or a lens polish. Staying ahead keeps night driving calm and clear, which always feels better behind the wheel.
- Clean headlight lenses often
- Change bulbs in pairs if possible
- Keep a spare bulb in the car
- Watch light strength over time
Final Thoughts
Changing a headlight on a Mazda 3 is a solid win. It saves time, keeps money in your pocket, and builds confidence. Once you do it once, the fear disappears. The road looks brighter and driving feels better. Small jobs like this remind you that caring for your car does not have to be a hassle.
| Task Area | What to Do | Helpful Tip |
|---|---|---|
| Parking | Park on flat ground | Use good lighting |
| Cooling | Let headlights cool | Avoid burned fingers |
| Access | Open hood fully | Secure hood latch |
| Removal | Twist bulb out | Do not force parts |
| Install | Insert new bulb | Hold by base only |
| Test | Turn lights on | Check both sides |
| Finish | Close hood | Make sure it locks |
Frequently Asked Questions (FAQs)
Is it normal for one headlight to go out first?
Yes, this happens often. Headlight bulbs do not always burn out at the same time. One side usually gets more use depending on driving habits and road conditions. Over time, heat and vibration wear bulbs differently. Because of this, many drivers choose to replace both bulbs together. Doing so keeps the light color and brightness even, which helps at night and makes the car look better from the front.
Can I change the Mazda 3 headlight without tools?
In most cases, yes. Many Mazda 3 models allow headlight bulb changes by hand. The bulb holder usually twists out without tools, and the wiring clip releases with finger pressure. Still, having gloves helps with grip and cleanliness. If space feels tight, patience matters more than tools. Always check your specific model year since designs can vary slightly.
Do I need to disconnect the battery first?
No, disconnecting the battery is not required for a headlight bulb change. Turning the car off and keeping the lights off is enough. The key is to avoid working while power is running through the system. As long as the car is fully off and the lights are cool, you can safely handle the bulb and connector without touching the battery.
Is it bad to touch the headlight bulb glass?
Yes, touching the glass can shorten the bulb life. Oils from your skin create hot spots when the bulb heats up. These spots can cause the bulb to fail sooner. If you accidentally touch it, wipe the glass gently with a clean cloth before installing. Handling the bulb by the base only is the safest habit.
Can I use LED bulbs in my Mazda 3?
You can, but it depends on your model year and housing design. Some Mazda 3 headlights are built for halogen bulbs, and LEDs may not shine correctly without proper alignment. Poor fit can cause glare or weak lighting. Always check compatibility and local rules. Using the correct bulb type keeps visibility strong and avoids issues.
Do I need to aim the headlights after changing the bulb?
Usually no, if you replaced the bulb correctly and did not move the housing. The alignment stays the same. Still, it is smart to check the beam pattern at night against a wall. If the light looks uneven or too high, a quick adjustment may help. Proper aim keeps the road clear and avoids blinding others.
Is it okay to drive with one headlight out?
Driving with one headlight is risky and often illegal. It reduces visibility and makes it harder for others to see your car. It also increases the chance of getting pulled over. Replacing the bulb as soon as possible keeps you safer and avoids trouble. Since the job is quick, delaying it rarely makes sense.
Can I change the headlight in bad weather?
It is better to wait for dry conditions. Rain or snow can make parts slippery and reduce visibility under the hood. Moisture near electrical connectors is also not ideal. If you must do it, take extra care and keep the bulb dry. A calm, dry setting always leads to better results.