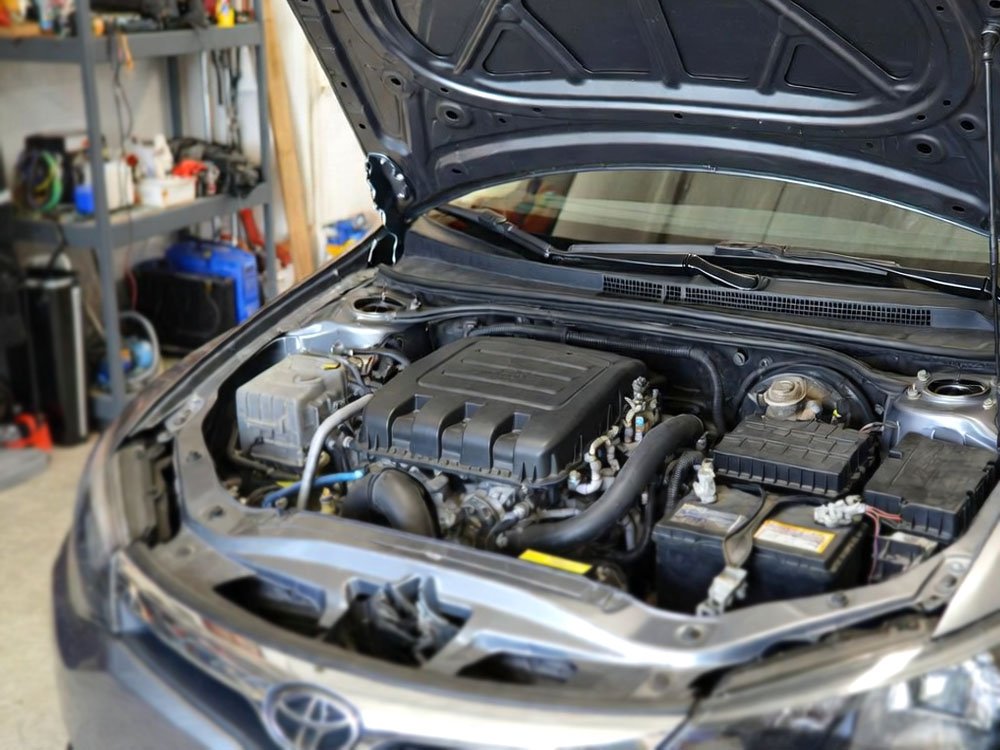
When it comes to keeping your car running smoothly, the water pump is a key player that often doesn’t get the attention it deserves. The water pump is responsible for circulating coolant throughout the engine, helping to maintain optimal operating temperatures. If it fails, it can lead to serious engine problems and costly repairs. In this blog post, we will explore how to test a car water pump like a pro, ensuring that your engine stays cool and runs efficiently.
Understanding the Role of the Water Pump
Before we dive into testing the water pump, it’s important to understand its function. The water pump is a vital component of the car’s cooling system. It pumps coolant from the radiator into the engine, allowing it to absorb heat. As the engine heats up, the coolant circulates back to the radiator, where it cools down before returning to the engine.
There are several types of water pumps, including mechanical and electric ones. Mechanical water pumps are driven by the engine’s crankshaft via a belt, while electric water pumps are powered by an electric motor. Regardless of the type, their primary purpose is the same: to keep the engine at a safe temperature.
If the water pump is not functioning properly, it can cause the engine to overheat, leading to serious damage. Signs of a failing water pump include coolant leaks, strange noises, and overheating. Regular testing can help you catch problems early and prevent costly repairs down the line.
Signs of a Failing Water Pump
Recognizing the signs of a failing water pump is crucial for preventing engine damage. Here are some key indicators that your water pump may need attention:
Coolant Leaks
One of the most common signs of a failing water pump is coolant leaks. If you notice puddles of coolant under your vehicle, this could indicate a leak from the water pump. Check the area around the pump for any signs of fluid. Coolant is usually bright green, orange, or pink, depending on the type used. If you see any leaks, it’s important to address them quickly to avoid overheating.
Strange Noises
Another sign of a failing water pump is unusual noises coming from the engine. You might hear a whining or grinding sound, which can indicate that the pump’s bearings are worn out. If the water pump is making strange noises, it’s a good idea to have it inspected by a professional. Ignoring these sounds could lead to complete pump failure.
Overheating Engine
If your engine frequently overheats, it could be a sign that the water pump is not circulating coolant effectively. Check the temperature gauge on your dashboard; if it’s in the red zone, stop driving immediately to avoid severe engine damage. An overheating engine may not only indicate a failing water pump but could also be due to low coolant levels, a faulty thermostat, or a clogged radiator. If you suspect the water pump, it’s important to test it as soon as possible.
Steam from the Hood
If you see steam coming from under the hood, it’s a clear sign that something is wrong with your cooling system. This could be due to a failed water pump or a coolant leak. When coolant overheats, it turns into steam and escapes from the engine. This is a serious condition that needs immediate attention. If you encounter this situation, pull over safely and turn off the engine to avoid further damage.
Tools Needed for Testing the Water Pump
Testing your car’s water pump requires some basic tools. Having the right tools will make the process smoother and more efficient. Here’s a list of essential tools you will need:
Basic Hand Tools
Start with basic hand tools such as wrenches, sockets, and screwdrivers. These tools will help you remove any components obstructing access to the water pump. Make sure to have a socket set that matches the sizes of the bolts on your car.
Coolant Pressure Tester
A coolant pressure tester is an important tool that can help you check for leaks in the cooling system, including the water pump. This tool pressurizes the cooling system and allows you to see if any coolant escapes. It’s a simple way to test for leaks without running the engine.
Hose Clamps and Pliers
You may need hose clamps and pliers to secure and disconnect the hoses attached to the water pump. This will help you safely remove the water pump for inspection or replacement. Ensure you have a variety of clamps in different sizes, as different vehicles may require different fittings.
Flashlight
A good flashlight is essential for inspecting hard-to-see areas around the water pump. Good lighting will help you identify any leaks, cracks, or other damage. Make sure your flashlight is bright enough to illuminate even the darkest corners of the engine bay.
Safety Gear
Safety gear, including gloves and safety glasses, is important for protecting yourself while working on your vehicle. Always wear gloves to protect your hands from sharp edges and hot components. Safety glasses will protect your eyes from any debris that may fall while you work.
Step-by-Step Guide to Testing the Water Pump
Now that you understand the signs of a failing water pump and have gathered your tools, it’s time to dive into the testing process. Follow this step-by-step guide to effectively test your car’s water pump.
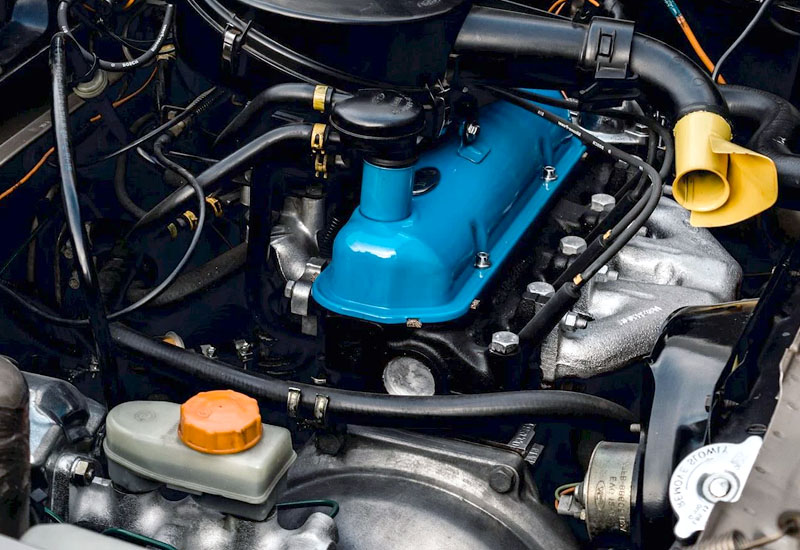
Step 1: Prepare the Vehicle
Before you begin, make sure the vehicle is parked on a flat, level surface. Turn off the engine and allow it to cool completely. This is important for your safety, as the engine and cooling system can be very hot. Open the hood and locate the water pump, which is usually found near the front of the engine, connected to the engine block and the radiator.
Step 2: Inspect for Visible Signs
Begin by visually inspecting the water pump and the surrounding area. Look for any signs of coolant leaks, such as wet spots or puddles. Check the hoses connected to the water pump for cracks, wear, or loose fittings. Ensure that the drive belt connected to the water pump is in good condition and properly tensioned. If you see any obvious signs of damage or leakage, these could indicate a problem with the water pump or the surrounding components.
Step 3: Test for Leaks with the Pressure Tester
Next, use the coolant pressure tester to check for leaks in the cooling system. Attach the tester to the radiator filler neck or overflow tank, depending on your vehicle. Pump the tester to pressurize the system to the manufacturer’s recommended pressure, usually indicated on a label near the radiator cap. Keep an eye on the pressure gauge; if it drops significantly, this indicates a leak somewhere in the system. Look closely at the water pump for any signs of coolant escaping.
Step 4: Check for Proper Functionality
If there are no visible leaks, it’s time to check if the water pump is functioning properly. Start the engine and let it idle for a few minutes. As the engine warms up, carefully observe the temperature gauge on the dashboard. If the gauge remains in the normal range, this indicates that the water pump is circulating coolant effectively. You can also feel the hoses connected to the water pump; they should become warm as the coolant circulates. If one hose is hot and the other remains cool, this could indicate a blockage or failure in the water pump.
Step 5: Listen for Unusual Noises
While the engine is running, listen for any unusual noises coming from the water pump area. A failing water pump may produce whining, grinding, or squeaking sounds. If you hear any of these noises, it may indicate that the pump’s bearings are worn or that there is a problem with the drive belt. If the water pump is making strange noises, it’s best to replace it before it fails completely.
Step 6: Perform a Final Inspection
After testing, turn off the engine and allow it to cool. Perform a final inspection of the water pump and surrounding area. Check for any new signs of leakage that may have developed during the test. If you found any issues, such as leaks, unusual noises, or overheating, it’s best to consult a professional mechanic for further evaluation and possible replacement of the water pump.
Maintaining Your Water Pump
Once you have tested the water pump and ensured it is working properly, it’s essential to maintain it to prevent future issues. Proper maintenance will extend the life of your water pump and keep your engine running smoothly.
Regularly Check Coolant Levels
One of the simplest ways to maintain your water pump is to regularly check the coolant levels in your vehicle. Low coolant levels can lead to overheating and cause strain on the water pump. Make it a habit to check the coolant level in the reservoir at least once a month. If you notice that the level is low, top it off with the appropriate coolant for your vehicle.
Flush the Cooling System
Flushing the cooling system is another important maintenance task. Over time, dirt and debris can build up in the cooling system, leading to clogs and decreased efficiency. It’s recommended to flush the cooling system every two years or according to your vehicle’s manufacturer recommendations. This process removes old coolant, dirt, and rust, helping the system function effectively.
Replace the Thermostat
The thermostat plays a crucial role in regulating engine temperature. If the thermostat is stuck closed, it can prevent coolant from flowing into the engine, causing overheating. It’s a good idea to inspect and replace the thermostat as part of your regular maintenance routine, especially if you notice any signs of overheating or if it’s been in use for several years.
Inspect Belts and Hoses
Regularly inspect the belts and hoses connected to the water pump. Look for any signs of wear, cracking, or fraying. If you notice any issues, replace them immediately. A worn or broken belt can lead to a failing water pump, while damaged hoses can cause coolant leaks.
Schedule Regular Maintenance
Finally, consider scheduling regular maintenance with a trusted mechanic. Professional inspections can help identify any potential issues before they become serious problems. Mechanics can also perform more advanced tests and maintenance procedures that you might not be equipped to handle yourself. This proactive approach will ensure that your vehicle’s cooling system, including the water pump, remains in top condition.
I hope this guide helps you understand how to test your car’s water pump like a pro. By recognizing the signs of a failing water pump and following the steps outlined here, you can maintain your vehicle’s cooling system effectively. Regular checks and maintenance will save you time and money by preventing costly engine repairs in the future.
Are These Questions in Your Mind?
Is it safe to drive with a bad water pump?
Driving with a bad water pump is not safe. A failing water pump can lead to engine overheating, which can cause severe damage. If you suspect your water pump is failing, it’s best to avoid driving until it has been checked or replaced.
Can a water pump leak coolant?
Yes, a water pump can leak coolant. Leaks may occur due to a damaged gasket, worn-out seals, or corrosion. If you notice coolant pooling under your vehicle or around the water pump, it’s essential to investigate the issue promptly.
Do I need to replace the water pump if I replace the timing belt?
It is often recommended to replace the water pump when replacing the timing belt. Since both components are located in the same area, and the labor involved is similar, replacing them together can save time and money in the long run.
Is it possible to test a water pump without removing it?
Yes, it is possible to test a water pump without removing it by using a coolant pressure tester and checking for leaks. You can also observe the engine’s temperature and listen for unusual noises while the engine is running to assess the pump’s functionality.
Can a faulty thermostat affect the water pump?
Yes, a faulty thermostat can affect the water pump’s operation. If the thermostat is stuck closed, it can prevent coolant flow, causing the water pump to work harder and potentially leading to overheating.
Do I have to drain the coolant to replace the water pump?
Yes, it is necessary to drain the coolant before replacing the water pump. This prevents coolant from spilling and causing a mess during the removal process.
Is it worth it to replace a water pump myself?
Replacing a water pump yourself can be worth it if you have the necessary tools and mechanical skills. However, if you are unsure or uncomfortable with the process, it may be better to consult a professional mechanic.
Can a water pump fail suddenly?
Yes, a water pump can fail suddenly, but it often shows signs of wear beforehand, such as leaks or noises. Regular inspection can help catch potential issues before they lead to sudden failure.
Is it common for water pumps to fail?
Water pumps can fail due to wear and tear, especially in older vehicles or those with high mileage. Regular maintenance and timely replacement can help reduce the risk of failure.
Do I need special tools to test the water pump?
While you don’t need highly specialized tools, having a coolant pressure tester and basic hand tools will make the testing process easier and more effective. Basic maintenance tools are usually sufficient for most DIY tests and inspections.


